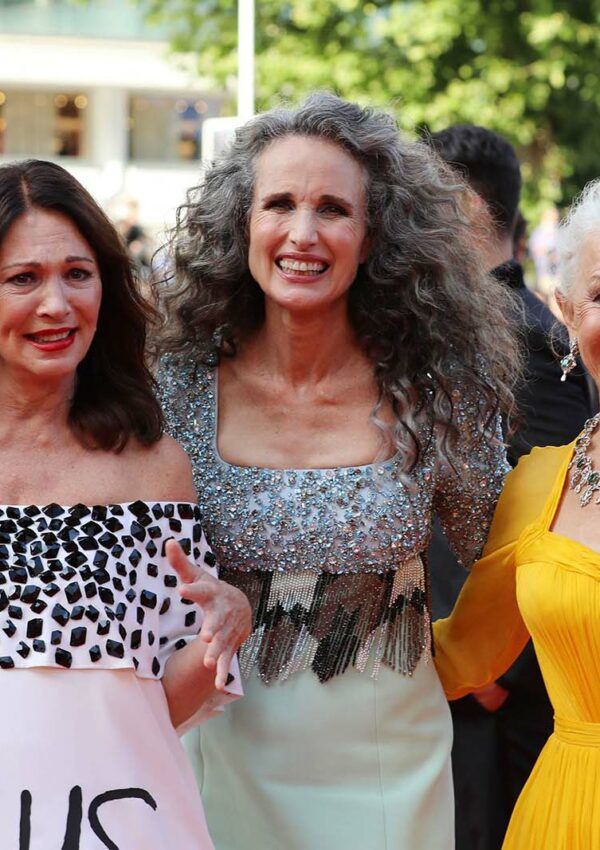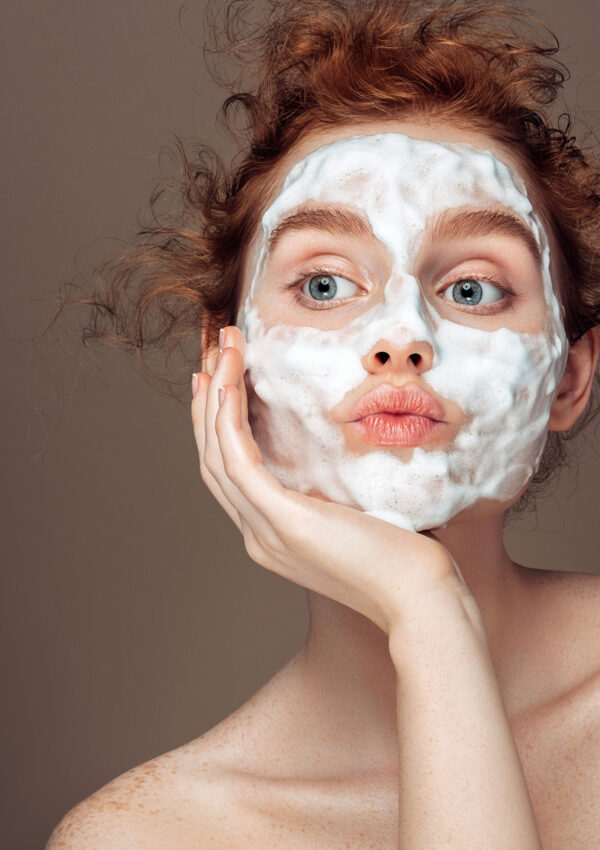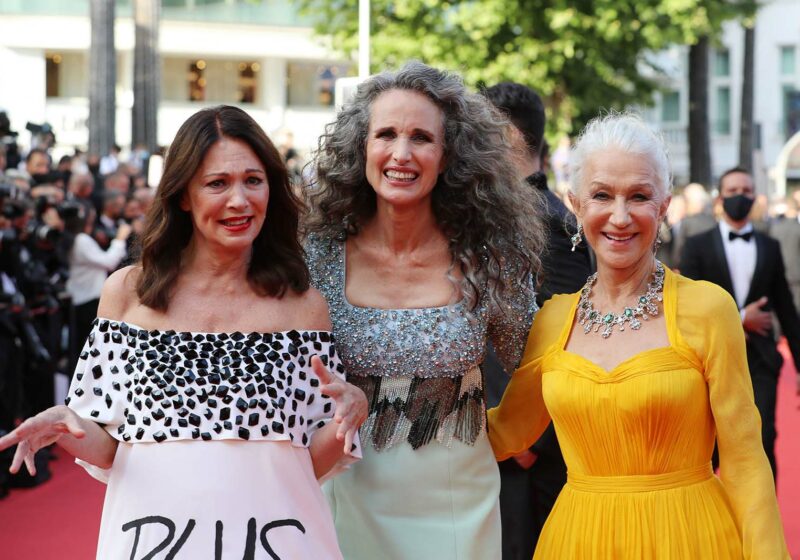
Our skin and facial structure change with the years and our makeup needs to evolve as well. This cheat sheet to the best makeup for older women will keep you looking your best... forever. Read More
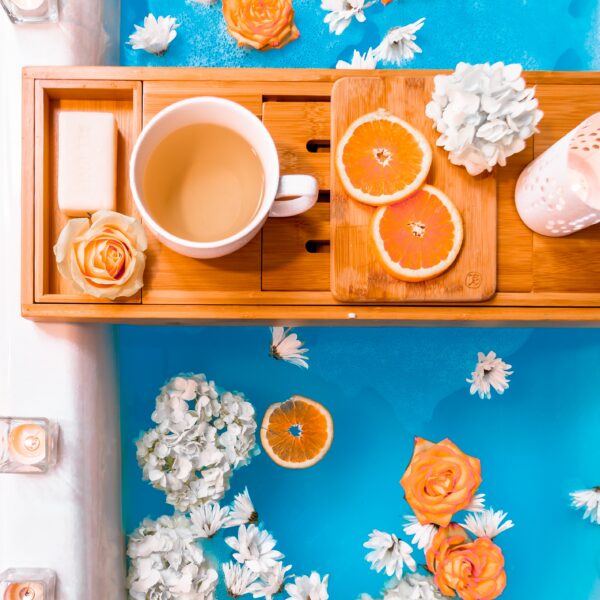
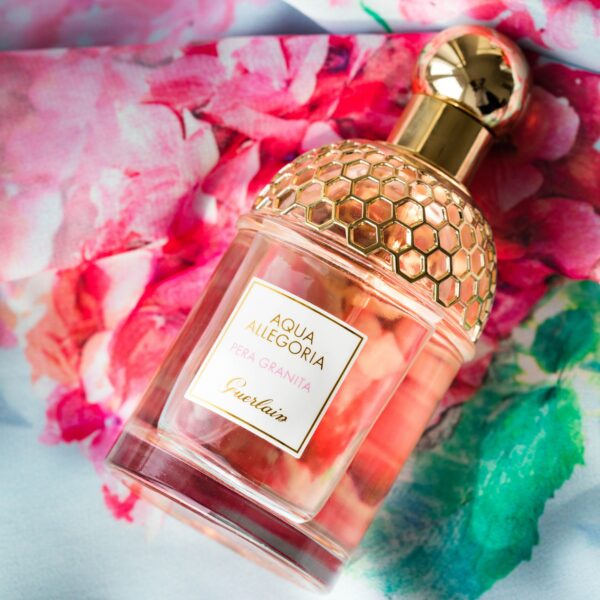
Luxury beauty * Self care * Sustainability
Luxury beauty * Self care * Sustainability
Our skin and facial structure change with the years and our makeup needs to evolve as well. This cheat sheet to the best makeup for older women will keep you looking your best... forever. Read More