For those who’ve experienced the crispy, dry aftermath of too many hot tool sessions, understanding how to repair heat damaged hair is essential. Whether you’ve overused hair straighteners, blow dryers, or curling wands, the struggle is real, and I’m guilty as charged!
Even with renowned hair experts just a call away, I’ve found myself causing more harm to my hair than I’d like to admit.
If you’re staring at your straw-like strands wanting a solution, you’re in the right place. I’ve spent years collaborating with the best in the business and diving deep into hair studies to create a comprehensive guide.
Ready to resurrect your locks? Let’s explore how to repair heat damaged hair, step by step!
Heat Damage and Hair: Know Your Enemy
We’ve all marveled at the magic of heat styling tools: The curling iron that crafts the perfect ringlet, the flat iron that transforms curly strands into sleek sheets, and the hairdryer that can sculpt and shape. Yet, as enchanting as these tools may be, over-reliance on them can lead to the infamous nemesis of lustrous locks: heat damage.
Let’s delve into heat damage, what it is, and why it sneaks up on us — culled from hair experts and scientific studies.
Our hair, when subjected to direct heat from devices like straighteners, curling wands, or a blow dryer, experiences a temporary breakdown of its hydrogen bonds. While these bonds naturally reform when your hair gets wet, frequent and intense heat can alter them permanently.
Moreover, these tools don’t just style; they can suck the life out of hair cuticles. These tiny protectors are responsible for keeping hair strands moisturized and protected. Fail them, and you’re left with hair that’s parched, brittle, and devoid of its signature sheen and suppleness.
Dive deeper, and there’s the protein narrative. Hair is primarily made up of keratin, a type of protein. But under the onslaught of soaring temperatures, this robust protein structure can crumble, leaving hair weaker and vulnerable to damage.
Signs Your Hair is Heat Damaged
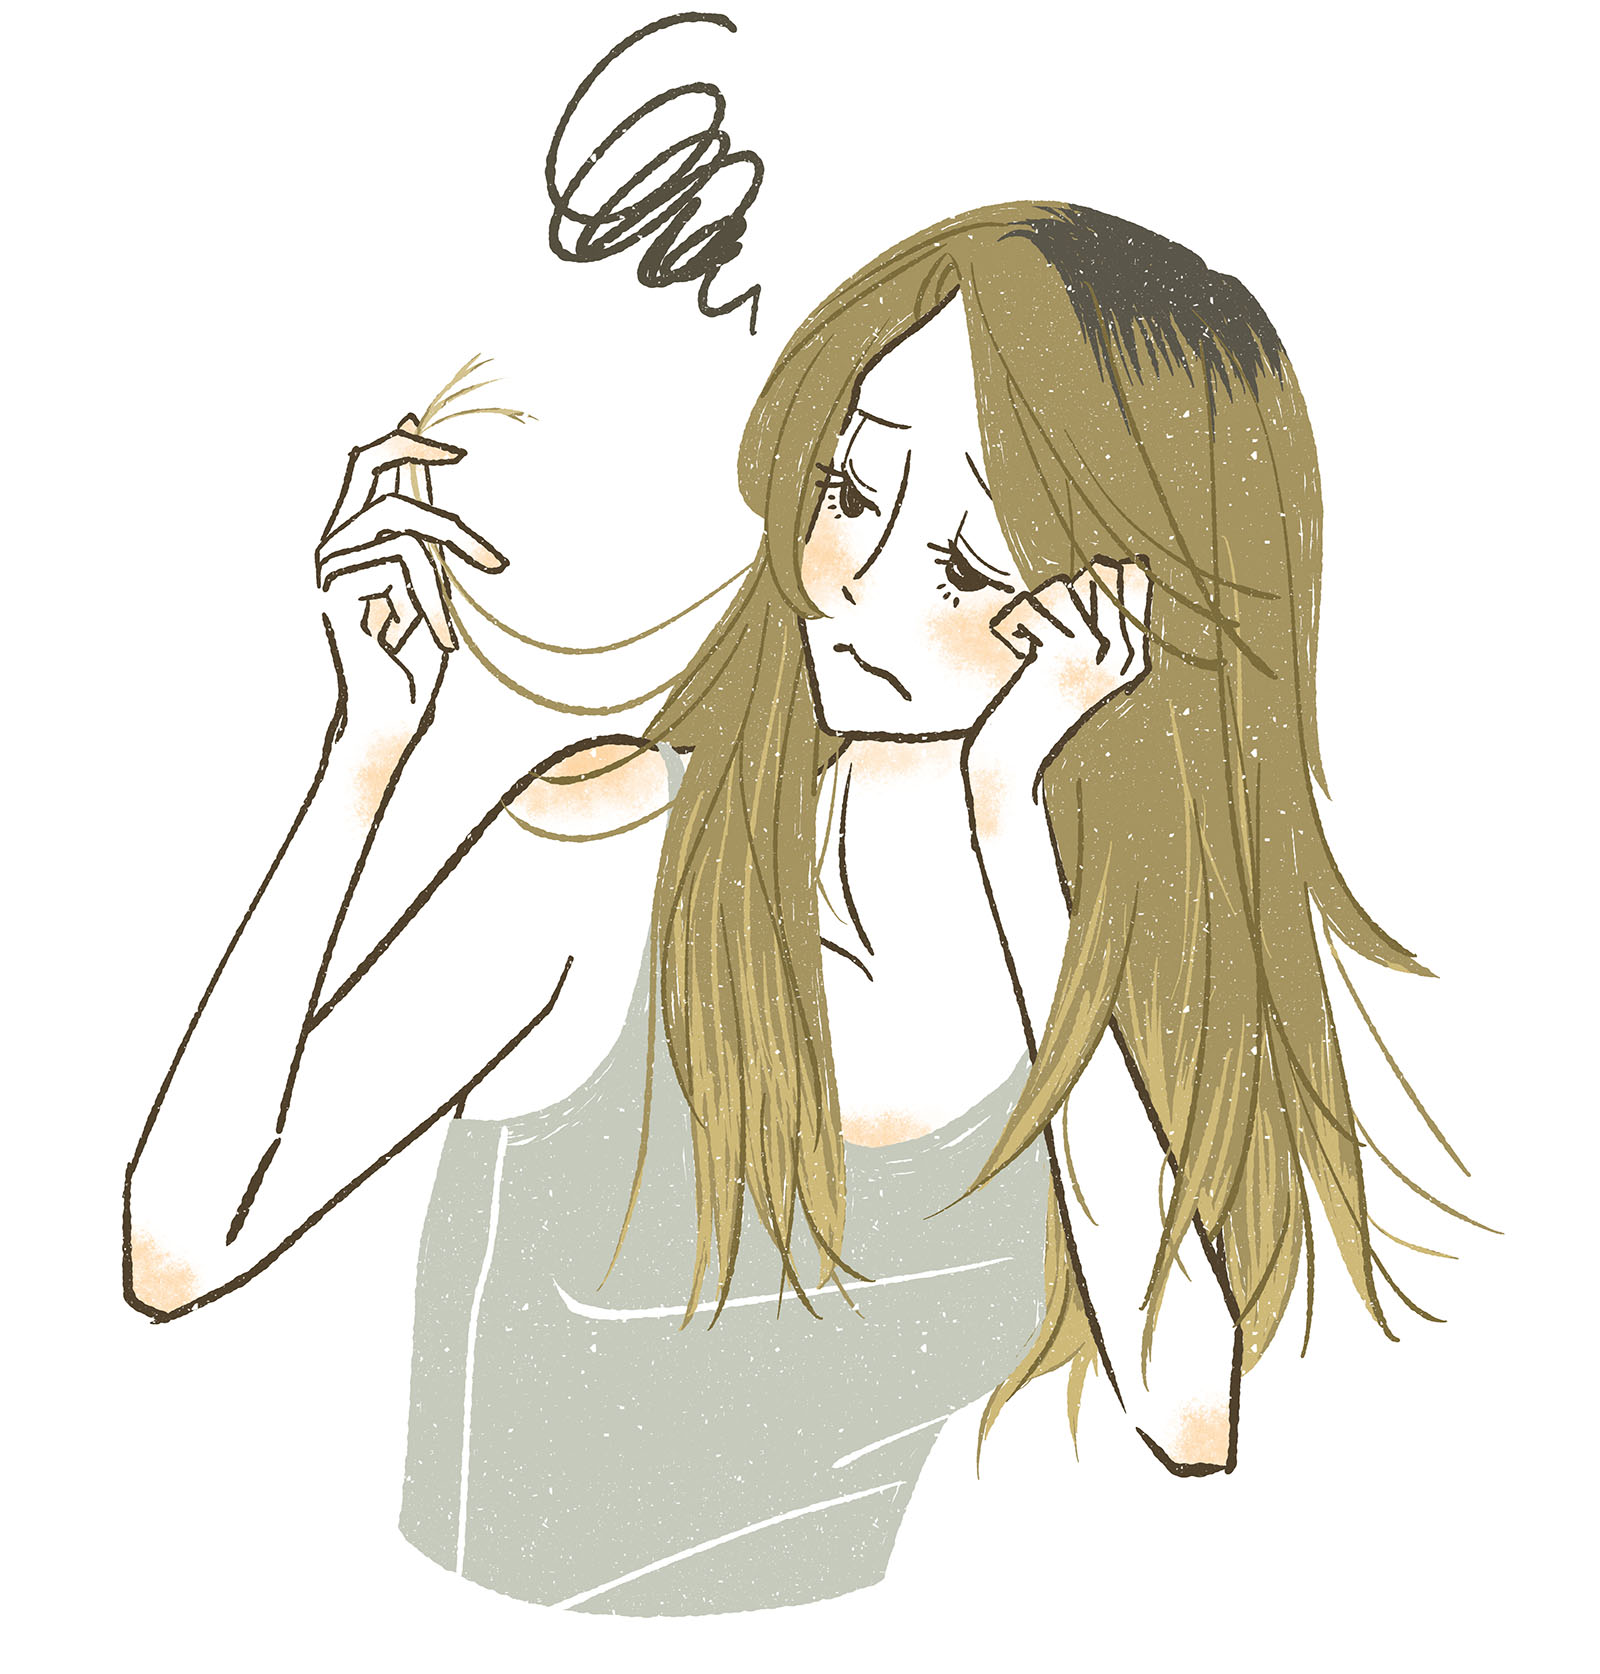
Endless Split Ends: Split ends appear when the hair strand divides into two or more separate, thinner sections due to dryness and fragility. If you’re trimming them consistently and they keep returning, it’s time to recognize your hair’s undergoing too much heat.
That’s Not My Texture: Those springy curls or arrow-straight strands you adored? If they’ve morphed into a frizz-fest or lost their vivacity, that’s not just hair having mood swings. It’s a cry for help from severe heat damage.
Desert-Like Dryness: Hair should flow like silk, not feel like straw. If your locks are dry or stringy, it’s not just a bad hair day; it’s a sign they’ve been scorched.
Lack of Shine: Healthy hair reflects light, giving it a shiny appearance. Heat damage can rough up the hair’s cuticle, making this shine and vibrancy disappear. So, if hair starts to look dull and flat, it’s shouting about heat abuse. Another interesting thing I’ve discovered is that heat-damaged hair might appear lighter on the ends. Who knew?
The Porosity Predicament: Imagine a sponge that soaks up and drips out water almost instantly. Heat-damaged hair behaves similarly with moisture, becoming a hotbed for tangles and frizz.
The Snap Test: Gentle tugs should never result in hair breakage. If your hair breaks too quickly, it’s one of the major signs of heat damage!
How to Repair Heat Damaged Hair: Immediate Actions to Take Right NOW
Embarking on a mission to resurrect my heat-wearied tresses, I dove headfirst into a new hair care routine. The verdict? Act swiftly! The more proactive you are in addressing heat damage, the brighter the chances for your hair’s revival. Drag your feet, and the path to recovery grows steeper.
Deep-Conditioning Treatments: Your Hair’s Savior
The foremost advice from experts on how to repair heat damaged hair is deep conditioners. Essential for hair health, they hydrate and nourish deeply.
While regular conditioners work primarily on the surface, deep conditioners and hair masks go further, providing your hair with intense hydration and nourishment.
They come packed with a wealth of nutrients — luxurious oils like argan and coconut, lush butters like shea and cocoa, and a blend of proteins, amino acids, and vitamins — all dedicated to rejuvenating your hair.
These conditioners have a rich, indulgent texture and require a longer interaction with your hair. Allow them to sit for 20 minutes, or up to an hour based on the product’s recommendation.
If waiting around isn’t your thing, apply the mask, go about your routine, and then rinse. Alternatively, use this waiting period for a relaxing self-care ritual with body scrubs and massages.
Regarding how often to use them? Pay attention to your hair’s needs. Dry or damaged hair might benefit from weekly treatments, while healthier hair might prefer bi-weekly or monthly sessions.
And just as you’d select clothes that best flatter your body type, choose a deep conditioner tailored for your hair type: lighter versions for fine hair (try Ouai Treatment Mask for Fine and Medium Hair or Gisou Honey Infused Hair Mask) and richer ones for thicker locks (Briogeo Don’t Despair, Repair! Deep Conditioning Hair Mask and Moroccanoil Hydrating Hair Mask).

Regular Conditioners: Your Hair’s Daily Advocates
While deep conditioners are the star players, regular conditioners are the trusty defenders, shielding you from hair damage day in and day out. They focus mainly on the hair’s outer layer, the cuticle.
Their job? Smooth these cuticles, giving hair a sleek appearance. A smoother hair cuticle also means better light reflection, making your hair look shinier.
Plus, they’re great for detangling post-shampoo, minimizing breakage during combing. They also act as a shield for the hair, guarding against daily damage and environmental stressors.
When shopping for heat damaged hair, look for conditioners with emollients, oils, and humectants that promise to retain moisture and fortify the hair’s strength.
Some regular conditioners also incorporate proteins to enhance the hair’s strength and resilience — though in lesser amounts than their deep-conditioning counterparts.
Bonding Treatments: The Architects of Hair Restoration
As I ventured deeper into my hair revival quest, I encountered bond builders — products designed to reconstruct hair’s very foundation. Our hair is a complex mesh of keratin proteins held together by disulfide bonds. High temperatures and chemicals can fracture these bonds, leaving hair vulnerable and lackluster.
Bonding treatments mend these broken bonds, restoring hair’s natural structure. The result? Stronger, shinier hair with reduced frizz.
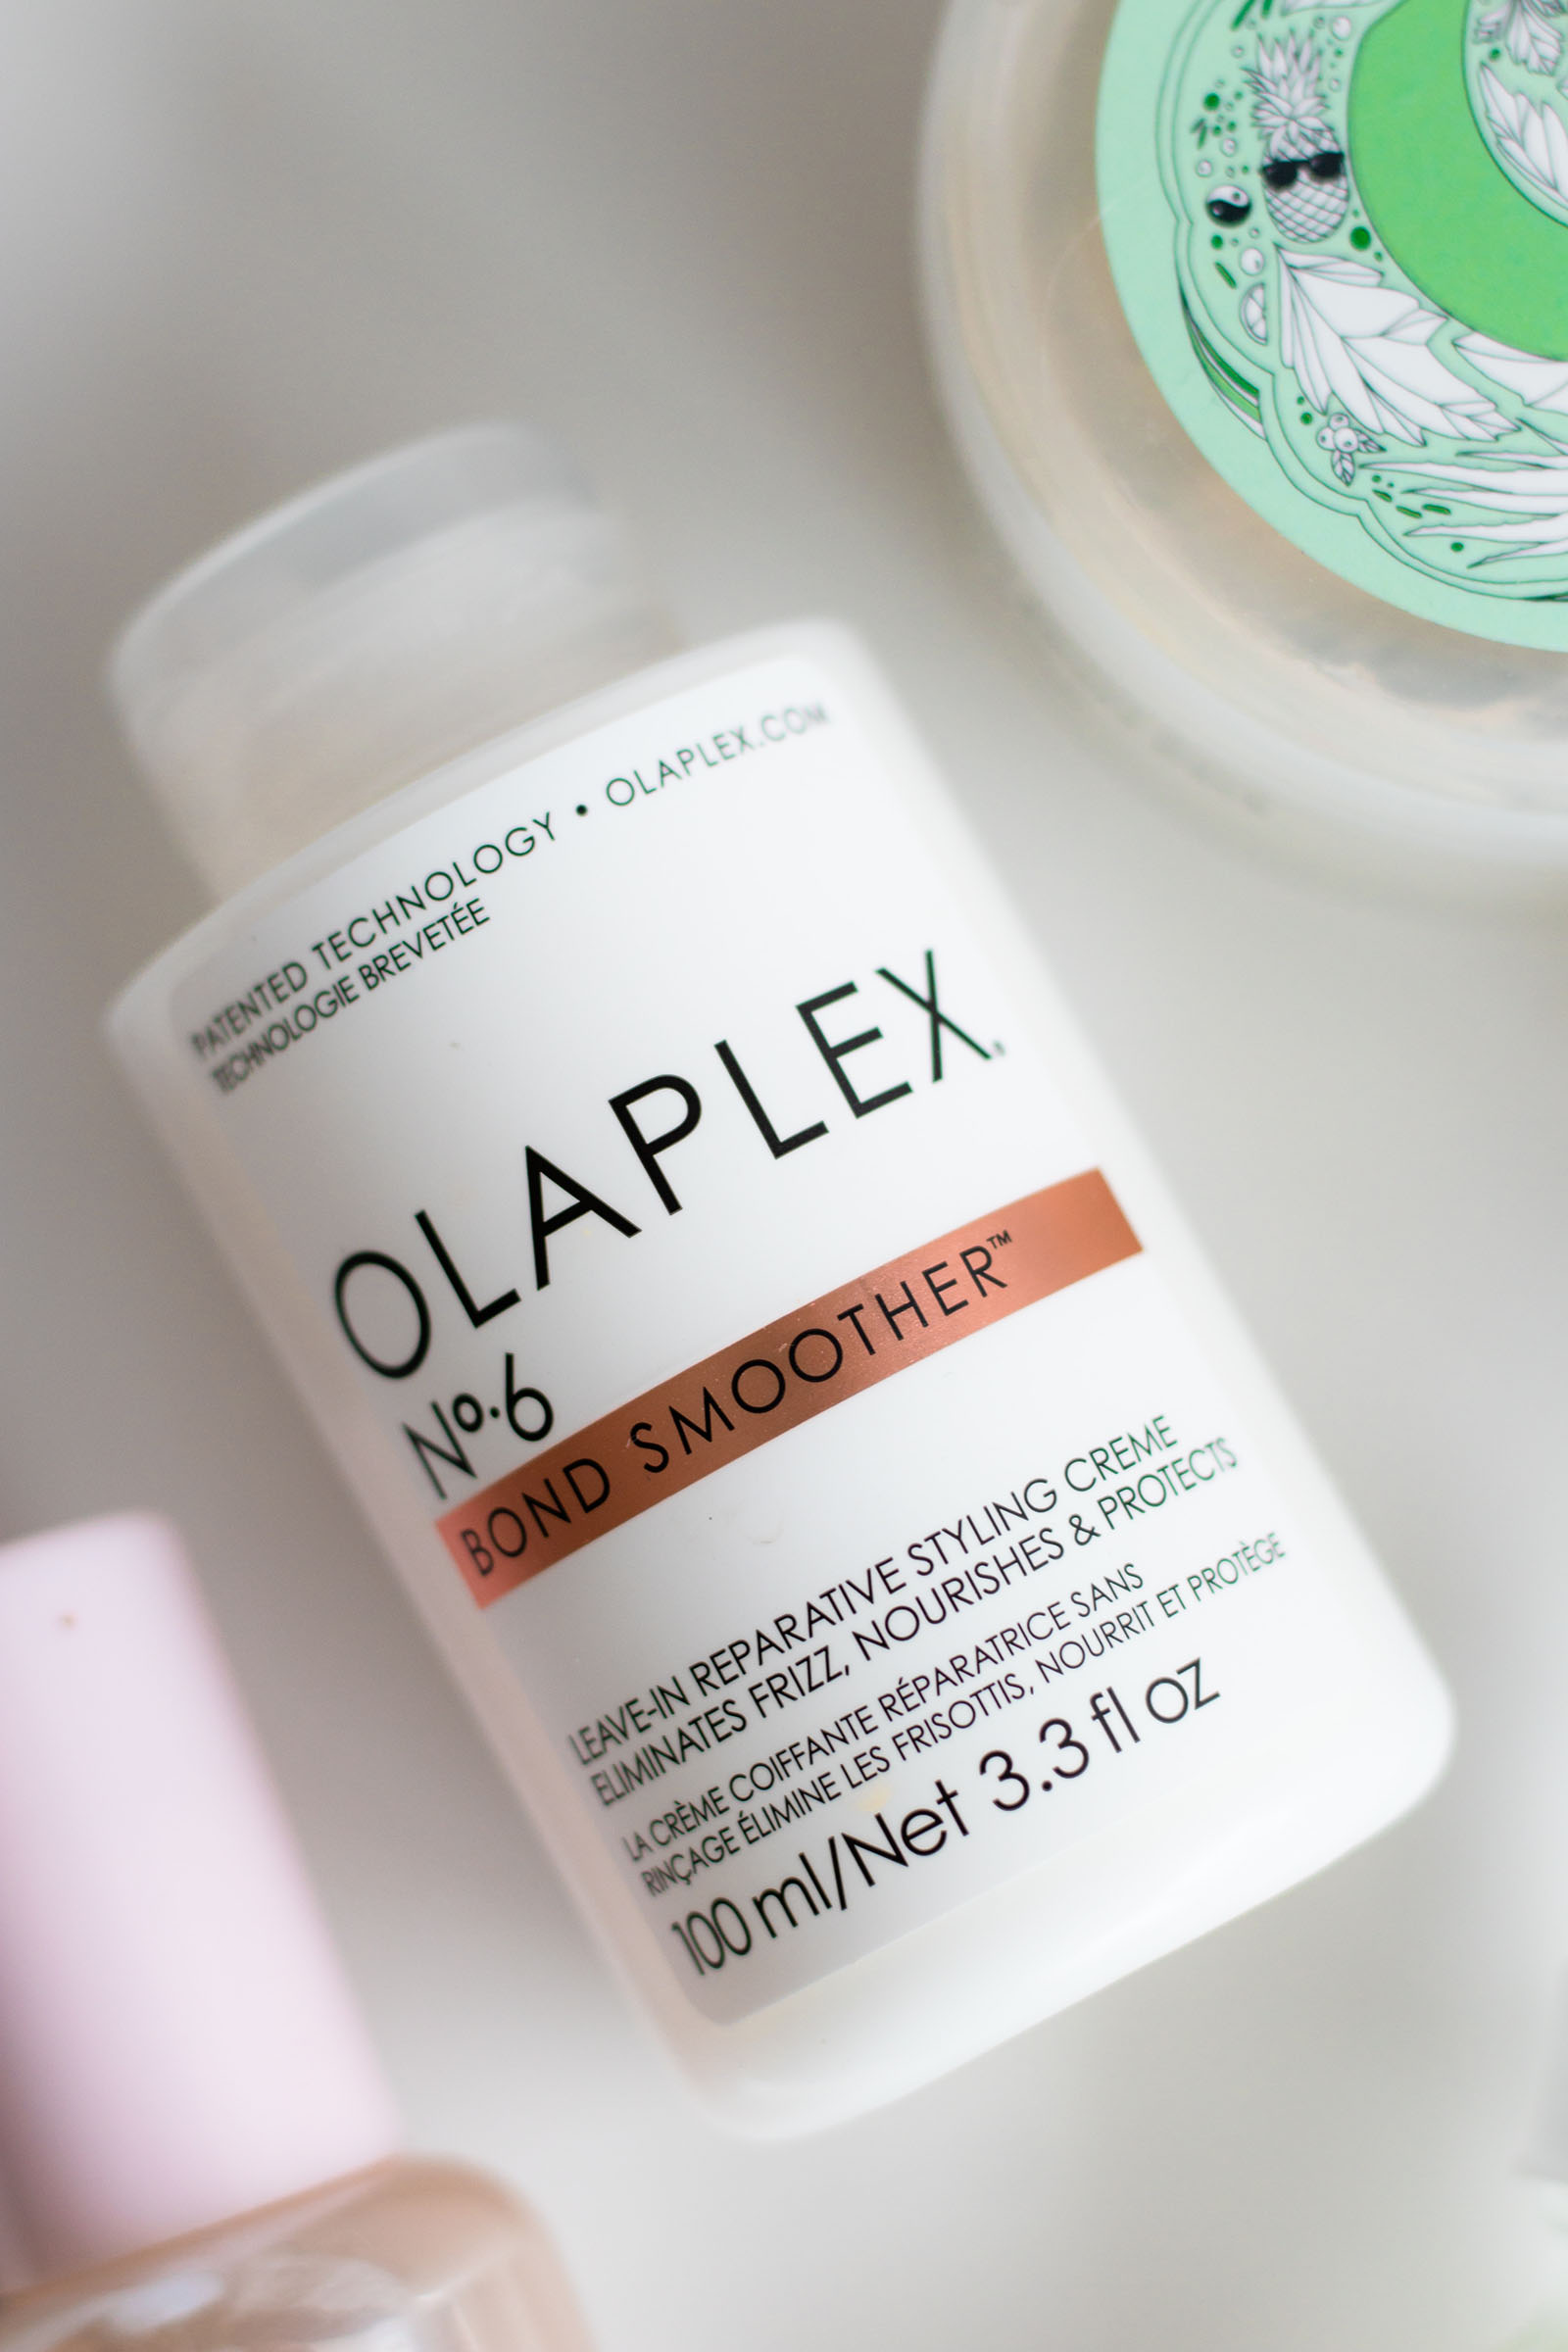
Consider incorporating both salon and at-home treatments for a comprehensive repair strategy. Brands like Olaplex, K18, and Living Proof offer fabulous at-home solutions that blend seamlessly into your haircare routine.
Home Remedies: Nature’s Answer to Damaged Hair
You know I love my home remedies — when they are underpinned by scientific validation. One place where these natural solutions work wonders is haircare, which is why supermodels and celebrities are known to call on them so frequently.
The best kitchen shelf options for how to repair heat damaged hair? Here you go:
Aloe Vera: This soothing gel isn’t just for sunburns! A powerhouse of hydration, aloe vera moisturizes the scalp, strengthens hair, and combats frizz. Directly apply the gel from the plant, or look for products enriched with its goodness.
Coconut Oil: Touted as one of the best natural hair conditioners, coconut oil deeply penetrates hair shafts, providing moisture and reducing protein loss. Warm it up slightly, massage it into hair and scalp, leave it on overnight (or at least an hour), and wash it off for a lustrous shine.
Avocado: This buttery fruit is loaded with vitamins E and B, perfect for hair repair and nourishment. Mash up an avocado, mix it with a bit of olive oil, and you have a mask ready to transform your locks.
Banana Bliss: Rich in potassium, vitamins, and natural oils, bananas can improve hair elasticity and moisture. Blend a ripe banana with coconut oil and honey for a creamy, rejuvenating mask.
Egg-cellent Reviver: Eggs are protein-rich and can help repair and strengthen hair follicles. Whip up an egg with some olive oil and apply the mixture from roots to tips. However, rinse with cool water to avoid cooking the egg in your hair!
Trimming: Hair’s Fresh Start
Regular trims are the unsung heroes in the fight against damage from heat-styling tools. Think of split ends as weeds, stunting your hair’s growth and beauty. Trimming stops split ends from working their way up the hair shaft, which can weaken the entire strand over time.
Trimming not only gets rid of damaged ends but also bestows a fuller, more polished look to your hair. And while trims don’t accelerate hair growth, they help prevent breakage and splitting. This means the hair can grow longer without snapping off midway!
How often should you trim? It depends on your hair’s health, type, and how you treat it:
- Healthy Hair: Trim every 8-12 weeks to stave off potential damage.
- Damaged or Processed Hair: For those who use heat tools often, dye their hair, or see visible damage, it’s advisable to trim every 6-8 weeks.
- Short Styles: Hairstyles like pixie cuts or bobs may need trims every 4-6 weeks to keep their shape.
Diet-Hair Connection: The Role in How to Repair Heat Damaged Hair
We’ve spoken at length about how a healthy diet influences the health of our hair. For those dealing with heat damage, understanding the diet-hair connection is crucial. Here’s what experts recommend for those wanting to know how to repair heat damaged hair through dietary changes:
Protein-rich foods: Since hair is mainly composed of protein, consume more protein-rich foods like lean meats, fish, beans, and eggs to support strong hair.
Healthy fats: Incorporate healthy fats like avocado, nuts, and olive oil into your diet to nourish and moisturize hair from within.
Vitamins and minerals: For healthier-looking hair, consume a balanced diet of fruits and vegetables, which are rich in essential vitamins and minerals, such as vitamin C, iron, and zinc.
SOS: Dealing with Burnt Hair!
We’ve all faced it: that gut-wrenching moment when you’ve held onto the curling iron just a bit too long or left the straightener on a hair section an extra second. The aftermath? A signature burnt hair scent, indicating the peak of hair styling mistakes.
Burnt hair is the most severe form of heat damage, usually from styling tools set to excessive temperatures or unexpected incidents like contact with a candle flame. Beyond its distinctive smoky smell, this damage appears as intense dryness, fragility, or visibly singed ends.
If you’re in this challenging situation, don’t panic! Here’s a step-by-step guide on how to repair heat damaged hair after such a mishap:
Snip Off the Scorched Bits
Your first move in your “how to repair heat damaged hair” journey? Snip off the burnt sections. Severely damaged hair finds it tough to recover, and holding onto these compromised ends can lead to further breakage and split ends.
Seek the expertise of a seasoned hairstylist—they’ll know the ideal trim to blend away the damage seamlessly.
Utilize Nature’s Oils
Restore vitality with nature’s best: coconut, argan, or jojoba oils. These mirror your hair’s natural oils, sealing moisture and shielding your tresses from the elements.
Opt for Protein Boosts
Heat can rob your hair of its protein essence. Consider diving into leave-in protein treatments or hair reconstructors. They’re like a gym for your hair, strengthening and rebuilding protein structures. But remember, moderation is key — excessive use might lead to brittleness.
Give Heat the Cold Shoulder
After experiencing burnt hair, it’s crucial in your how to repair heat damaged hair regimen to take a break from heat styling tools. Embrace the natural drying process and show off your hair’s inherent texture and style.
Avoid Harsh Chemicals
As you work on repairing burnt hair, sidestep chemical treatments like coloring, perms, or relaxers. These treatments can exacerbate damage, especially when your hair is already vulnerable.

How to Repair Heat Damaged Hair: Steps to Prevent Further Damage
It’s a cliche, but prevention is better than cure — especially when dealing with heat damaged hair. And having been through it, I’ve gathered the most effective strategies to prevent future harm:
Never Use Heat on Damp or Wet Hair
Using straighteners on damp hair might seem like a time-saver, but you’re essentially boiling the water in your hair — definitely not a recipe for healthy locks. Always ensure your hair is completely dry before using any direct heat tools.
Invest in Heat Protectants
One of the best decisions I made was to use heat protectant products before bringing on any hot tools like a hair straightener or blow dryer.
These products contain ingredients that form a protective layer around the hair shaft. This layer prevents moisture loss and shields your hair from the direct heat of styling tools.
How to apply? Distribute the protectant evenly on damp hair, ensuring coverage from roots to ends. A modest amount is usually sufficient; overusing can leave hair feeling weighed down.
Some of the best ones to choose from: Bumble and Bumble Hairdresser’s Invisible Oil Heat Protectant Leave In Conditioner Primer, Kérastase Genesis Heat Protecting Leave-In Treatment for Weakened Hair, Verb
Glossy Shine Heat Protectant Spray, GHD Bodyguard Heat Protect Spray, Gisou Propolis Infused Heat Protecting Spray
Choose a Lower Temperature
After discussions with numerous hairstylists and trichologists, one key takeaway is that maximum heat isn’t often required. Select the lowest effective heat setting guided by experts:
- Low to Medium (Up to 300°F): Best for fine or chemically treated hair.
- Medium to High (300°F – 450°F): For thick or curly hair types.
- Above 450°F: Rarely necessary and can cause immediate damage.
Pick the Right Heat Tools
Not all heat tools are created equal. For instance, the Dyson Airwrap system dries, straightens, and curls my hair with controlled heat and powerful airflow, ensuring minimal damage.
When considering how to repair thermal damage and prevent further harm, look for the following:
Material: Opt for ceramic or tourmaline plates and barrels for straighteners and curling irons. They heat evenly and are less likely to cause hotspots, reducing the chances of frying your strands.
Temperature Settings: Always start with the lowest temperature setting and increase if necessary. Thicker hair might require slightly higher temperatures, but thin hair is especially vulnerable and should be styled at the lowest effective heat.
Smart Features: Some modern tools have sensors that adjust the temperature according to hair type. Investing in such devices can be a game-changer.

Limit Heat Styling
Finally, I now reduce the frequency of heating tools and explore alternative ways to style my hair, such as braiding, bunning, or using hair rollers. In fact, I designate regular ‘no-heat’ days during the month when my hair is allowed to air dry without any heat tools — every day need not be a straight hair day!
Even if you must use heat, ensure you’re not going overboard. Avoid daily usage of straighteners, curling irons, and blow dryers. Instead, reserve them for special occasions or spaced-out intervals.
Remember, repairing heat-damaged hair won’t happen overnight. Stay consistent with your care routine, avoid excessive heat, and with time, you’ll notice a significant difference in the health of your hair!


Leave a Reply