I came to tanning late. Born to an Indian mother, having fair skin was always the goal — think loads of sunscreen, traditional ubtans, saffron milk. Voluntarily turning your skin dark? Are you kidding?
So, when I discovered how toning can give you a beautiful glow, hide scars of acne past, and even out the complexion, I went on studying the science full throttle. I must have spoken to every expert possible, from Kate Moss to Barbara Sturm! And here is all the knowledge condensed into one comprehensive guide for you!
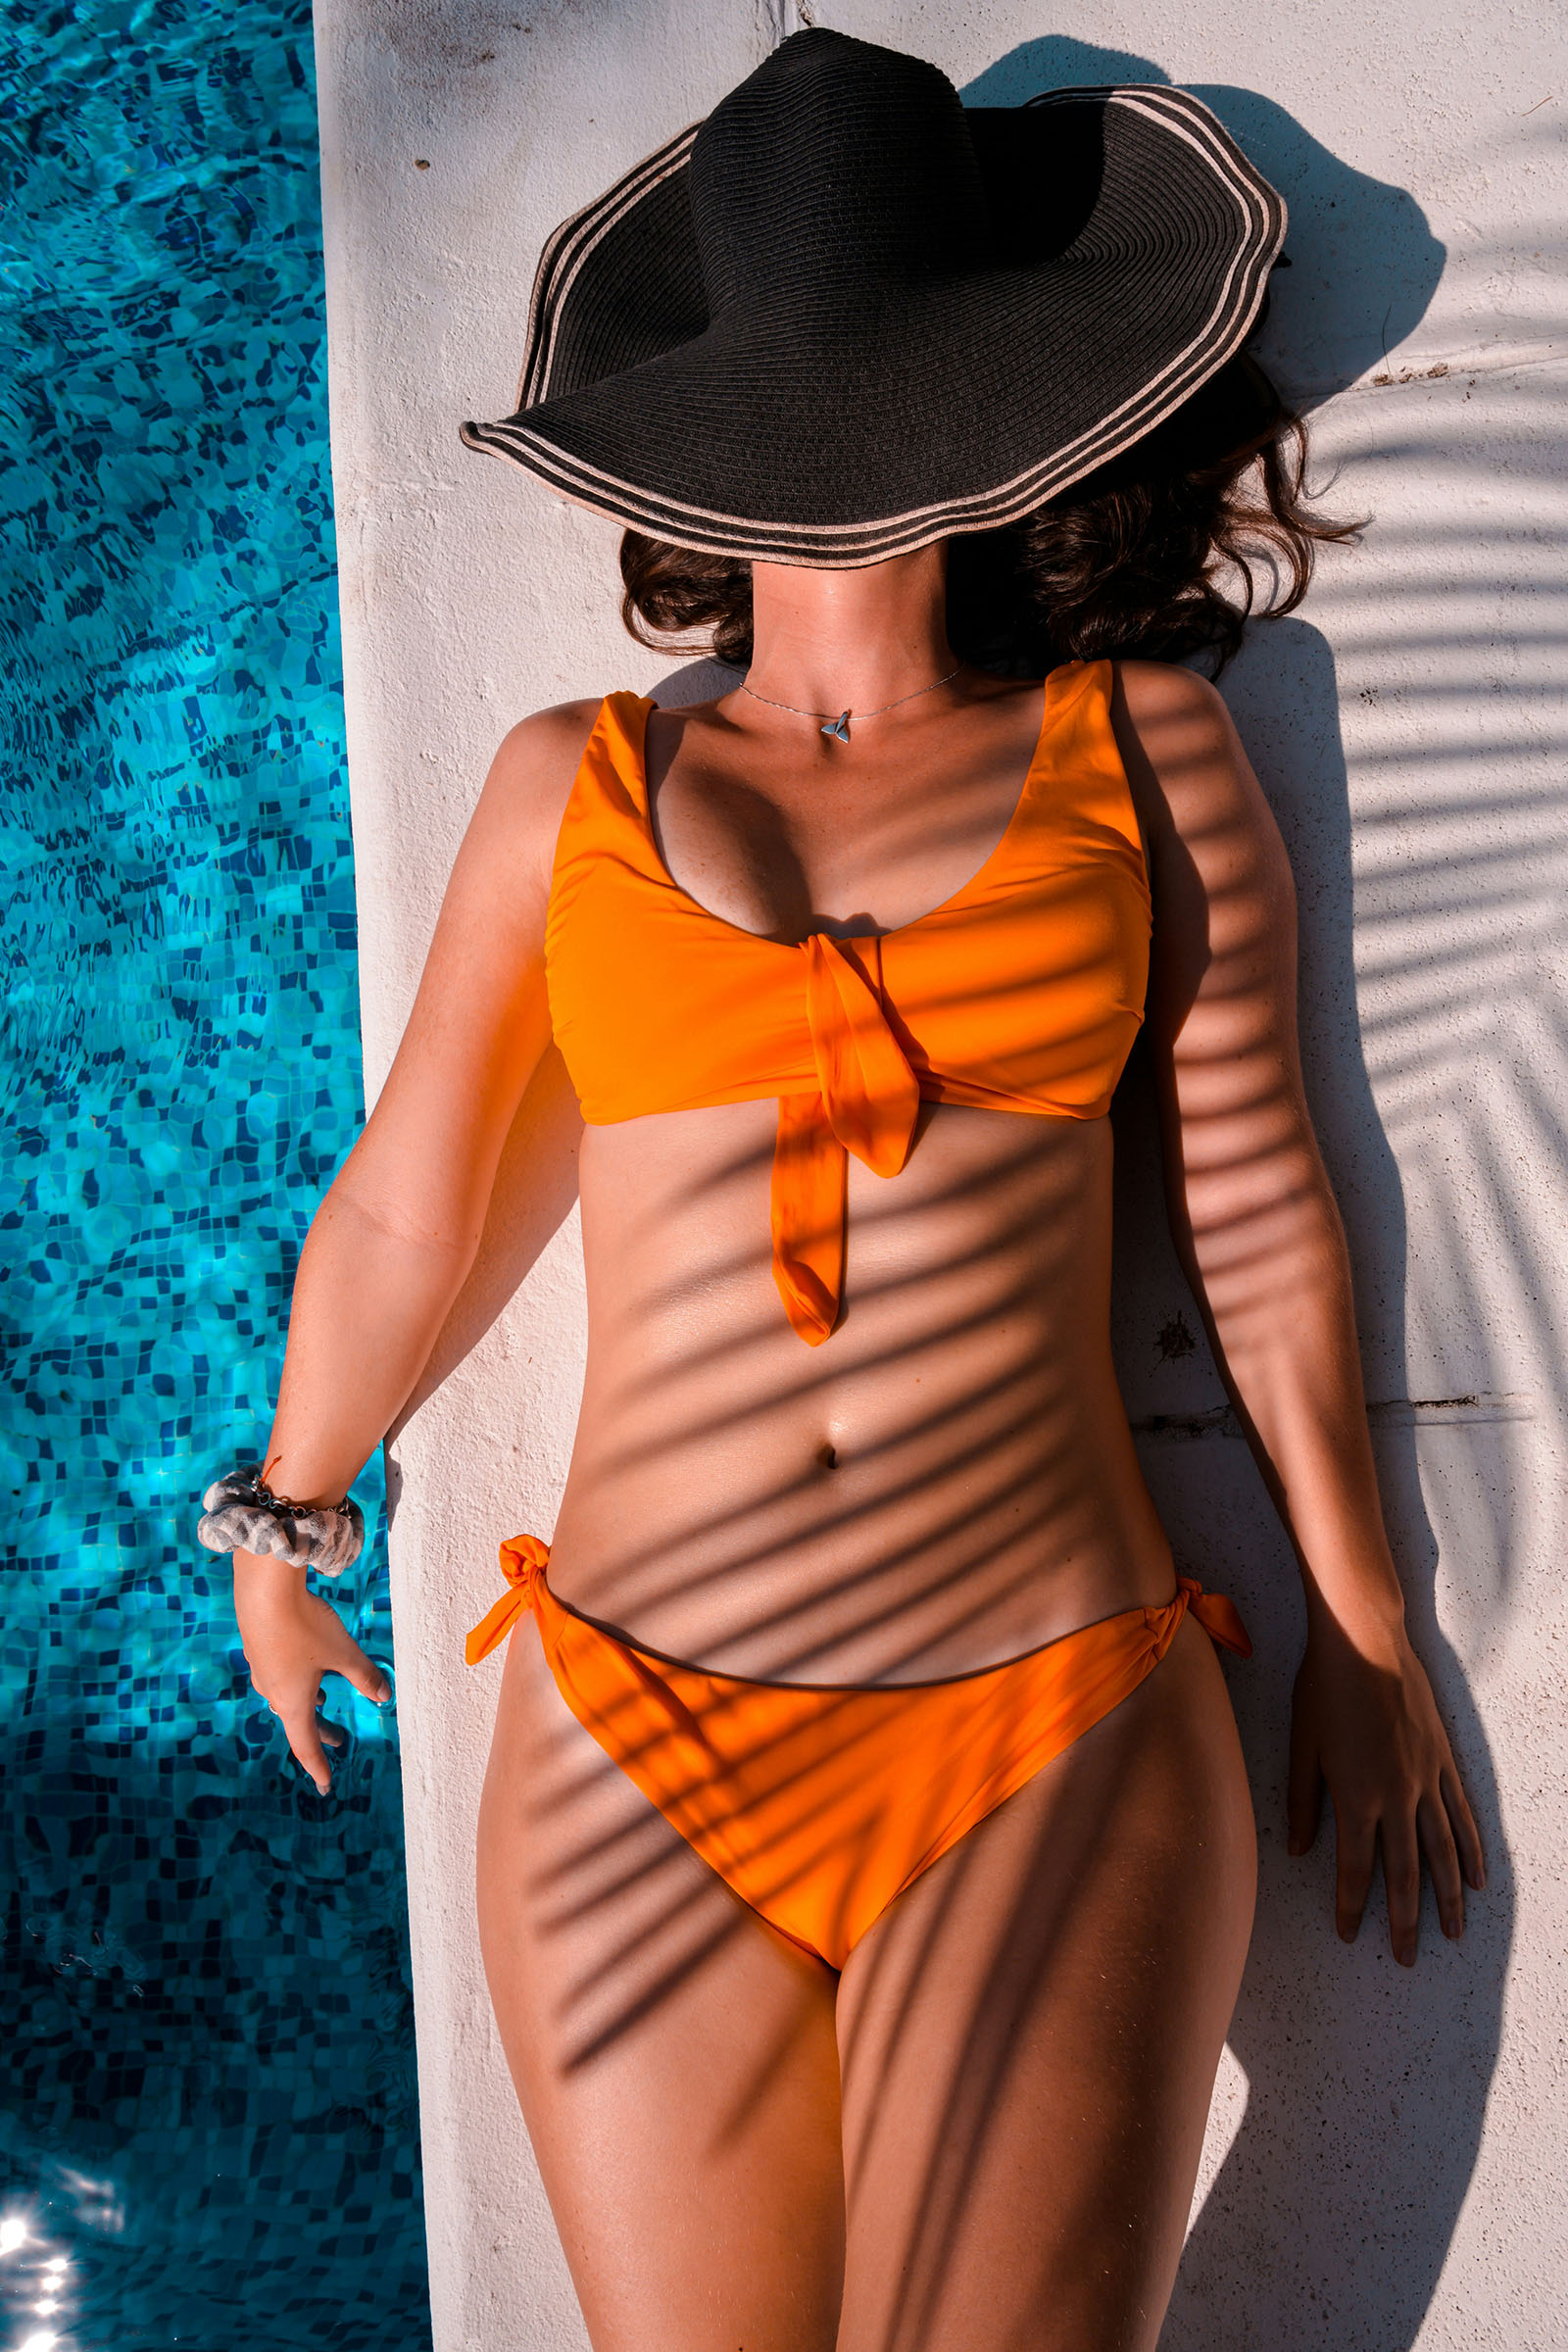
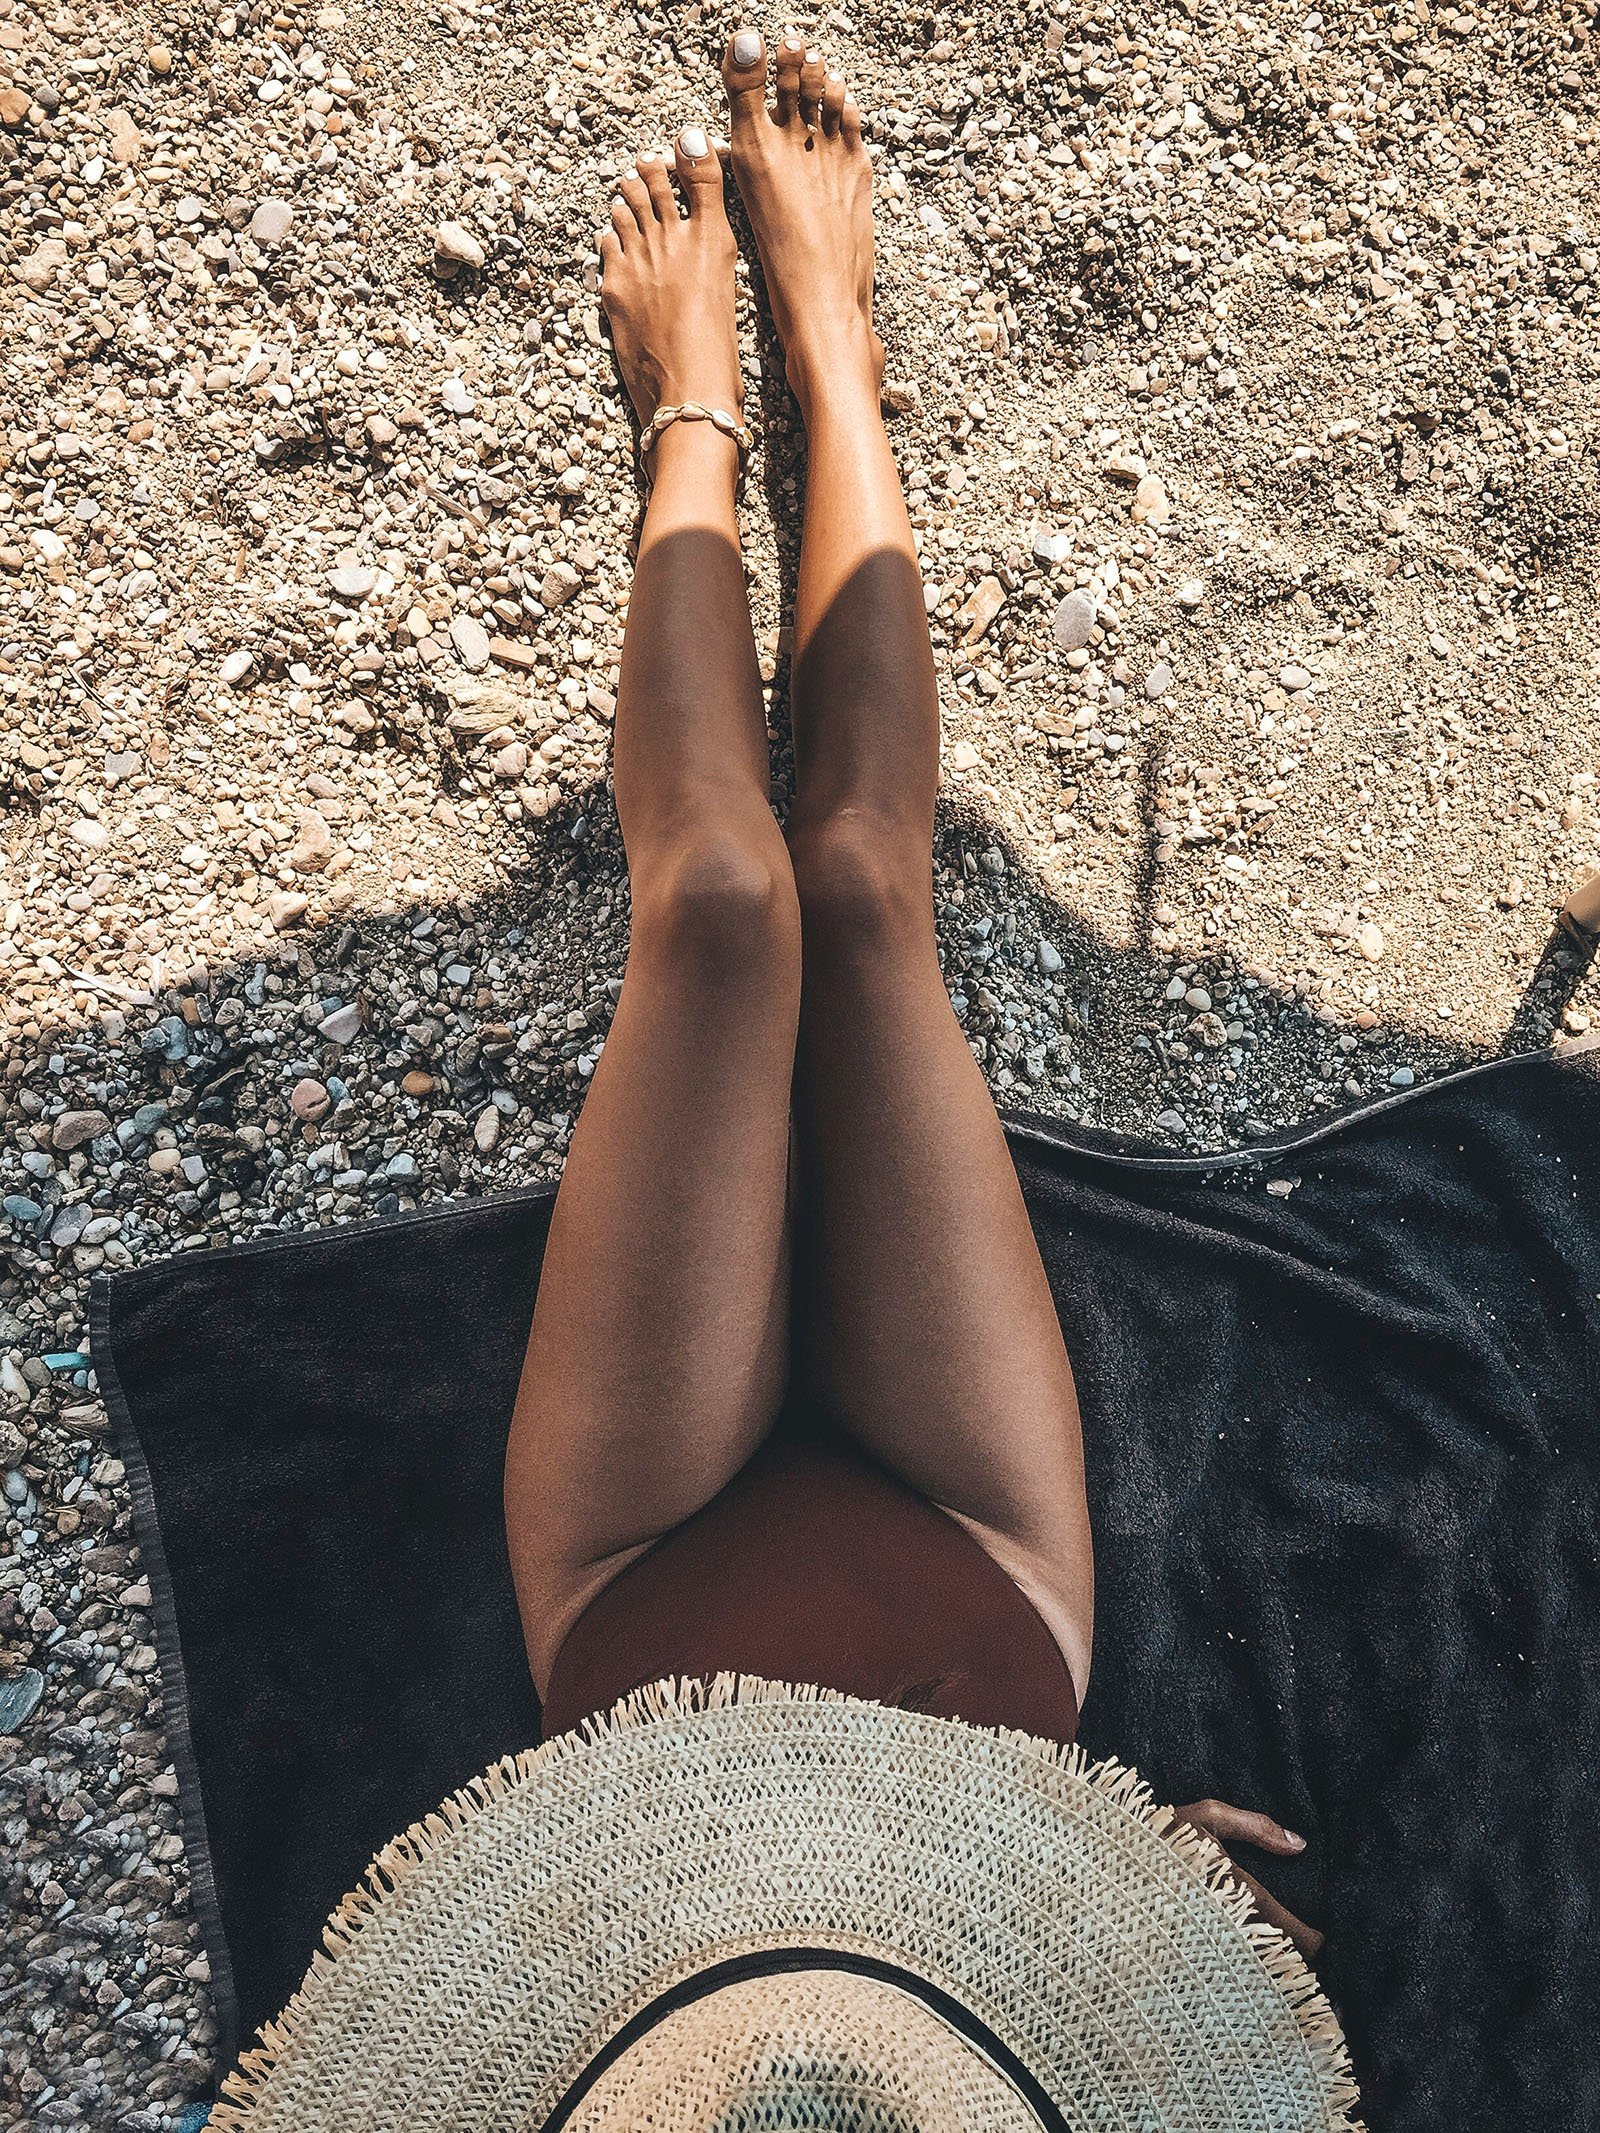
Gone are the days of sunbathing risks and orange, streaky mishaps. It’s time to embrace the era of healthy, radiant, sun-kissed skin all year round, effortlessly achieved from the comfort of your home. Whether you’re a self tan novice or a bronzed goddess looking to refine your skills, these expert tips on how to apply self tanner are your ticket to a flawless glow!
The Golden Rule of Self Tanning: Preparation Is Key
Before you even pop open your self tanner, remember this: great preparation is the secret to a flawless tan. Getting your skin ready provides a smooth base that will showcase your tan in all its sun-kissed glory.
Exfoliating 101: A Must-Do First Step
Exfoliation is essential in the self tanning world — it’s all about clearing away grime, excess oil, and dead skin cells that can cause unevenness and patchiness. Grab a scrub or exfoliating mitt and focus on rough spots like knees, elbows, or ankles where skin tends to be thicker.
However, it’s important to be gentle. Over-exfoliating can make your skin sensitive and may lead to uneven coloration. Aim to exfoliate 24 hours before applying your tanner to give your skin time to recover and reduce the risk of dark patches.
Moisturizing: Unlocking the Door to Even Coverage
Once you’ve exfoliated, it’s time to moisturize. Hydrated skin is like a sponge for self tanner, helping you achieve that even, streak-free glow. Choose a light, non-greasy moisturizer that sinks in fast. Heavy creams can mess with your tan, causing streaks or patches.
But here’s the catch: Avoid lotions, makeup, and deodorant right before tanning. They can act like a barrier, preventing your tanner from doing its magic.
Instead, focus on moisturizing those dry areas like knees, elbows, and ankles the day before tanning. These spots tend to absorb more tanner, making them appear darker than the rest of your body if they’re not properly prepped.
Skip the Shave
Planning to shave off that excess body hair? Do it a day before your tan session. Shaving right before tanning can leave pores wide open, leading to an uneven look — making this one of the cardinal rules of how to apply self tanner.
The Final Touch: Shower Smart
Wrap up your prep with a lukewarm shower to wash away any remaining exfoliant or product residue. Avoid bar soaps or anything that leaves a film on your skin, ensuring you’re all set for a perfectly even tan.
Lotions, Mousses, Sprays: Choosing Your Sunless Tan Champion
Starting your quest for the perfect self tanner can be a bit overwhelming—it’s like exploring a maze filled with lotions, mousses, sprays, and more, each promising a golden glow. However, choosing the right one is key to unlocking a natural-looking tan that perfectly suits your skin tone and lifestyle.
Self-Tanning Lotions
If you’re just starting out with how to apply self tanner, lotions might be the best way. They’re hydrating and forgiving, making them perfect for beginners. Plus, their slower drying time gives you plenty of control as you apply, which is great for avoiding mistakes. If you have dry skin, you’ll love how lotions offer a gentle, buildable tan that enhances your natural complexion.
Best self tan lotions? Choose between the Coola Sunless Tan Firming Self Tanner Lotion with Shea Butter and Caffeine or the Tan-Luxe Illuminating Gradual Tan Lotion for perfect results, every single time.
Mousses
For those who prefer something that dries quickly and spreads effortlessly, a self tanning mousse is the way to go. Lightweight and often equipped with a guide color, they make it easy to spot and fix any application slips immediately. Whether you have oily, combination, or even sensitive skin, mousses deliver a fast, beautiful bronze that doesn’t keep you waiting.
Pro picks for self tanning mousse? St. Tropez Self Tan Express Bronzing Mousse and Isle of Paradise
Glow Clear Color Correcting Self-Tanning Mousse.
Self-Tanning Mist and Sprays
Tanning sprays can make reaching tricky spots like your back a breeze. They dry fast and can give you a very even coat if you apply them properly. However, they do take a bit of practice to perfect — once you’ve got the hang of it, you’ll achieve a flawless, streak-free tan without any patches.
Three to pick? St. Tropez Self Tan Purity Bronzing Water Face Mist, Tan-Luxe Hydrating Self-Tan Water, and Isle of Paradise Self-Tanning Refillable Water
Self-Tanning Foam
Ideal for both beginners and tanning pros, self-tanning foams usually include a guide color. This helps you see exactly where you’ve applied the product, ensuring no spot is missed, and your tan is flawlessly even. Not only is it easy to use, but this option is wonderfully lightweight and airy, gliding across your skin and drying quickly to avoid mess.
One to try? Jergens Natural Glow Instant Sun Body Mousse
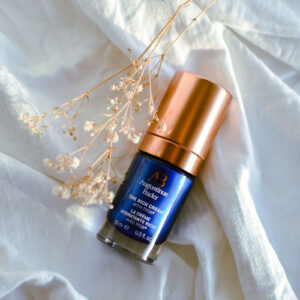
Self-Tanning Serums
One of the best parts about using a serum is the ability to control your tan’s depth. Thanks to their concentrated formulas, you can build your color gradually, tailoring the intensity to suit your preferences perfectly. What’s more, many serums are enriched with anti-aging goodies like hyaluronic acid and antioxidants, which not only hydrate but also protect your skin, boosting your complexion’s radiance.
And if you’ve got sensitive skin, serums are a fantastic choice. They’re typically free from harsh chemicals and heavy fragrances, offering a gentle yet effective tanning alternative that reduces the risk of irritation. This makes serums not just safe but also incredibly soothing for your skin.
My favorites? Tan-Luxe The Face Illuminating Self-Tan Drops (this is what I am wearing right now!), Isle of Paradise Self Tanning Natural Glow Face Drops
Self-Tanning Oil
Self-tanning oils are a fantastic choice if you struggle with dry skin. They deliver a significant moisture boost while building your tan, enriched with essential oils and skin-loving ingredients that pamper your skin. So, if you’re looking for a product that both enhances your color and cares deeply for your skin, self-tanning oil might just become your new go-to.
Where self-tanning oils go, I trust only one: Tan-Luxe Wonder Oil Illuminating Self-Tan Oil
Tanning Waters
Ideal for those seeking a lightweight and hydrating option, tanning waters are the latest innovation in sunless tanning. They absorb quickly, don’t leave a sticky residue, and are often colorless, reducing the risk of stained clothes or sheets.
Perfect for a natural, streak-free glow, tanning waters are great for both beginners and experts looking for a subtle enhancement to their complexion.
How to apple self tanner with a water formulation? Sally Hansen Airbrush Legs Tanning Water and Tan-Luxe Express Hydrating Self-Tan Water give maximum results with minimum effort.
The Shade Debate: How to Pick Your Perfect Match
Choosing the right shade is as crucial as finding the ideal formula. Remember, the best sunless tanner is the one that looks like it could be your own skin — just sun-kissed and not like you’re wearing a mask.
Fair to Light Skin Tones: Start with a light to medium shade to keep things looking real and avoid any orange mishaps. Gradual tanners are perfect here; they let you build up your color over several applications so that you can stop once you hit the perfect tone.
Medium to Olive Skin Tones: You’re in luck because your skin’s natural melanin harmonizes beautifully with medium to dark tans. Go ahead and choose a richer shade for a deep, natural-looking tan that complements your skin perfectly.
Darker Skin Tones: To enhance your natural glow, pick a deep or dark tanner. These shades work well to even out your skin tone, boost radiance, and bring out your inherent beauty without looking forced.
Tools of the Trade: Your Essentials for How to Apply Self-Tanner
Getting that flawless, streak-free tan is about more than picking the right product — it’s also about choosing the best tools to apply it. The right tools not only make your self tanning session smoother but also ensure even coverage and minimal mess.
Tanning Mitts: Your Streak-Free Secret
The applicator mitt is your ultimate ally for an even and natural-looking tan. It prevents your bare hands from staining — a dead giveaway of a faux tan — and ensures the product glides smoothly and evenly across your skin. Consider it your first line of defense against the dreaded streaks and patches.
Back Applicator: No Spot Left Untanned
Struggling with those hard to reach areas like your back? A back applicator will be your new best friend. With its long handle and a soft pad at the end, it lets you easily apply self-tanning product to every inch of your back, ensuring you don’t miss a spot.
Facial Brush: Delicately Done
Turn to a soft, flat foundation brush for a flawless face tan. It’s perfect for blending tanner seamlessly around your hairline, jawline, and eyebrows. A facial brush is essential because your face deserves a gentle touch. With this tool, you can apply just the right amount of product with the precision needed to achieve a beautifully natural tan on your face.

How to Apply Self Tanner: The Application Process
Mastering the perfect application of self tanner is key to achieving that envy-inducing, streak-free golden radiance. It all comes down to technique, timing, and a little bit of prep work. Follow this friendly, step-by-step guide to ensure your tan is absolutely flawless from beginning to end.
Step 1: Prep Your Skin
Start preparing your skin surface at least 24 hours before applying your tanner. Exfoliate to shed those dead skin cells, paying extra attention to drier areas of the skin like knees, elbows, and ankles. After exfoliating, moisturize these areas well to avoid dry patches that could absorb too much product.
Step 2: Set the Scene
Choose a well-ventilated area with good lighting for your tanning session. Evening is the best time to apply, as this allows your tan to develop overnight, free from the interference of clothes or activities that could cause smudging.
Step 3: Guard Your Dry Spots
The next step in how to apply self tanner? Dab a little moisturizer or barrier cream on your elbows, knees, ankles, and wrists to prevent them from soaking up too much tanner. This helps keep your tan even and natural-looking.
Step 4: Let the Tanning Begin
Slip on a tanning mitt to protect your hands from stains and ensure smooth, even coverage. Start at your feet and work your way up to avoid bending over and ruining your tan.
- Legs: For a natural-looking self tan, use smooth, circular motions from your ankles up, blending thoroughly around the knees.
- Torso: Apply the tan product with upward strokes. Be gentle around sensitive areas like the neck and underarms.
- Arms: Begin at your wrists and blend the tanning formula upwards to your shoulders, taking care around the elbows.
- Hands and Feet: Finish these with whatever product is left on the mitt for a light touch, or use a brush for precision.
Step 5: Tanning Your Face
For a gentle face tan, mix a little tanner with your moisturizer or opt for a dedicated facial tanning product, like tanning waters. Apply with a brush for careful coverage around your eyes, nose, and mouth.
Step 6: Wait and Dry
Let the tanner dry completely before dressing in loose, dark clothes to prevent rubbing. Steer clear of water and sweat for 8-10 hours to let your tan set in.
Step 7: Rinse Off
Once your tan has developed (usually overnight), take a lukewarm shower to wash off the excess product. Use gentle soaps, and don’t exfoliate just yet. Pat your skin dry to avoid smudging your new glow.
Step 8: Moisturize to Maintain
Keep your skin moisturized daily after tanning. This not only extends the life of your tan but also ensures it fades evenly and beautifully.

How to Apply Self Tanner: Troubleshooting Tips
Even when you follow all the steps perfectly, sometimes self-tanning doesn’t quite work out as planned. No worries, though! Here are some friendly tips to fix common self-tanning mishaps and keep your glow gorgeous and even.
Streaks and Patches
Oops! You’ve got streaks or uneven patches.
Quick Fix: Gently exfoliate the streaky areas with a soft body scrub or a homemade mix of lemon juice and baking soda to lighten the tan. Then, carefully reapply a smaller amount of self-tanner to even things out. Next time, ensure your skin is well moisturized, and you’re using a mitt to apply the tanner smoothly.
Too Dark
Oh no! Your tan turned out darker than expected.
Easy Solution: Take a warm bath with an oil-based product to help lift the excess color. A gentle scrub with a loofah can also dial down the intensity. Remember to hydrate your skin afterward to keep it silky and smooth.
Orange Tone
Yikes! Your tan is more orange than golden.
Here’s What to Do: Blend a little lemon juice with sugar to create a natural scrub that helps lighten and even out the orange areas. Next time, try using less product or switch to a lighter shade better suited to your skin tone.
Missed Spots
Missed a spot? No problem.
How to Handle It: Moisten the edge of a washcloth with self-tanner and gently dab it onto the missed areas, blending softly to integrate with the rest of your tan. Next time, use a mirror and good lighting to ensure you cover all areas evenly.
Stained Hands or Orange Palms
Whoops! Got tanner on your hands?
How to Clean It: If your palms show signs of tanning, washing them with toothpaste or a mix of baking soda and dish soap can work wonders. Next time, consider wearing gloves or a tanning mitt to avoid stains.
Splotchy Fade
Seeing spots? Let’s smooth things out.
Maintain It: Keep your skin moisturized to prevent uneven fading. A light daily exfoliation can also help your tan diminish evenly. Staying hydrated and moisturizing daily are key for a smooth, lasting tan.
Keeping Your Tan Perfect
Maintaining the sun-kissed allure of a perfect self-tan isn’t just about how to apply self tanner — it also involves careful upkeep. Let’s dive into how you can keep your bronzed masterpiece looking fresh and fabulous.
Hydration: Your Best Friend for Tan Longevity
Hydrated skin not only ensures a more durable tan but also guarantees that it fades evenly and naturally. So, make hydrating moisturizer your skincare staple, applying it twice daily. Choose gentle and nourishing formulas, and avoid any harsh chemicals or fragrances that might hasten your tan’s decline.
Gentle Cleansing: Essential for Evenness
A radiant and even tan starts with how you treat your skin. Stick to a gentle, hydrating moisturizer twice a day. Look for products that fortify your skin’s health without introducing harsh elements that could strip your tan. Keeping up with this routine not only extends your tan’s lifespan but also keeps your skin looking vibrant and healthy.
Exfoliation: Get the Timing Right
Consistent care is key for an even tan, and that includes timely exfoliation. Use gentle products that refresh your skin without scraping away your tan. This not only prepares your skin for each tanning session but also prevents uneven wear-off, ensuring your glow looks naturally even.
Sun Protection: Non-Negotiable
Despite your skin sporting a beautiful bronze, it remains vulnerable to UV rays. Always safeguard your tan — and your skin — by applying a broad-spectrum sunscreen with at least SPF 30. Remember to reapply every two hours, especially after swimming or sweating, to maintain optimal protection.
Boost Your Tan’s Life
Incorporate hydrating sprays and tan extenders to keep your tan looking lush and even. Hydrating mists are perfect for a quick midday refresh, while tan extenders help maintain the color’s intensity and even fade, ensuring your skin stays beautifully bronzed and hydrated.

Busting Self-Tan Myths: The Truth About Getting a Gorgeous Glow
The world of self-tanning is riddled with myths that can scare off newcomers and leave even the most seasoned tanners scratching their heads. Whether it’s fear of an orange outcome or concerns about skin damage, it’s time we clear the air.
Myth 1: Self-Tanner Application Will Turn You Orange
Truth: Gone are the days of orange tints from less sophisticated tanning formulas. Today’s self-tanners feature advanced DHA (dihydroxyacetone) formulations that yield a natural, golden glow. To avoid mishaps, pick the right product for your skin type, follow the application guidelines carefully, and you’ll sidestep the dreaded orange hue.
Myth 2: Self-Tanning Is Bad for Your Skin
Truth: Actually, self-tanning can be a skin-friendly option, especially compared to the UV risks of sunbathing or using tanning beds. Many tanners are packed with hydrating ingredients and nutrients that love your skin. Just make sure to do a patch test first.
Myth 3: You Can’t Get a Realistic Tan from a Bottle
Truth: Modern self-tanners are crafted to provide a spectrum of shades suited for various skin tones, ensuring you can achieve a realistic and flattering tan. The trick is to choose the right shade and learning how to apply self tanner. With the right technique, you can sport a tan that looks like you’ve spent a week in the sun.
Myth 4: Self-Tan Stains Clothes and Bedding Forever
Truth: It’s true that some self-tanners might rub off on fabrics, but this is generally temporary and definitely washable. Let your tanner dry completely before getting dressed to cut down on staining. Opt for dark, loose clothing post-application, and consider dark sheets if you’re tanning before bed. Most newer tanners are formulated to minimize transfer.
Myth 5: Self-Tanners Offer Sun Protection
Truth: Despite their bronzed finish, self-tanners do not protect against sun damage. It’s vital to use a broad-spectrum sunscreen with an SPF of 30 or higher daily, even if you look like you’ve just returned from the beach.
And there you have it! With all this know-how, you’re all set to achieve that perfect, sun-kissed glow — no sun required! Let’s get tanning and turn your self-tan application from good to great.
All the sun-kissed mavens out there, care to share any tips with us on how to apply self-tanner?


Leave a Reply