When you first think of press-on nails, what comes to mind? A quick fix, a last resort, or a throwback to your teenage years?
But stick-on nails are no longer merely a plan B; they’re plan A! The press-on revolution is here, transforming how we perceive our nail routine.
False nails have undergone a colossal transformation, highly coveted by beauty influencers and A-list celebrities alike. Armed with cutting-edge technology, innovative designs, and unmatched convenience, they’re no longer just nail covers.
They’re art. They’re expression. They’re YOU!
What are the advantages of stick-on nails?
Industry watchers put this down to the sheer convenience of false nails: No mess, you don’t need to be super skilled to apply them, and there’s an ever-growing mix of choices. You can even get custom-made ones!
Cue: Luxury nail brands like Olive & June, Static Nails, and Glamnetic have jumped on the bandwagon, with some saying that stick-on nails outperform their traditional nail polishes!
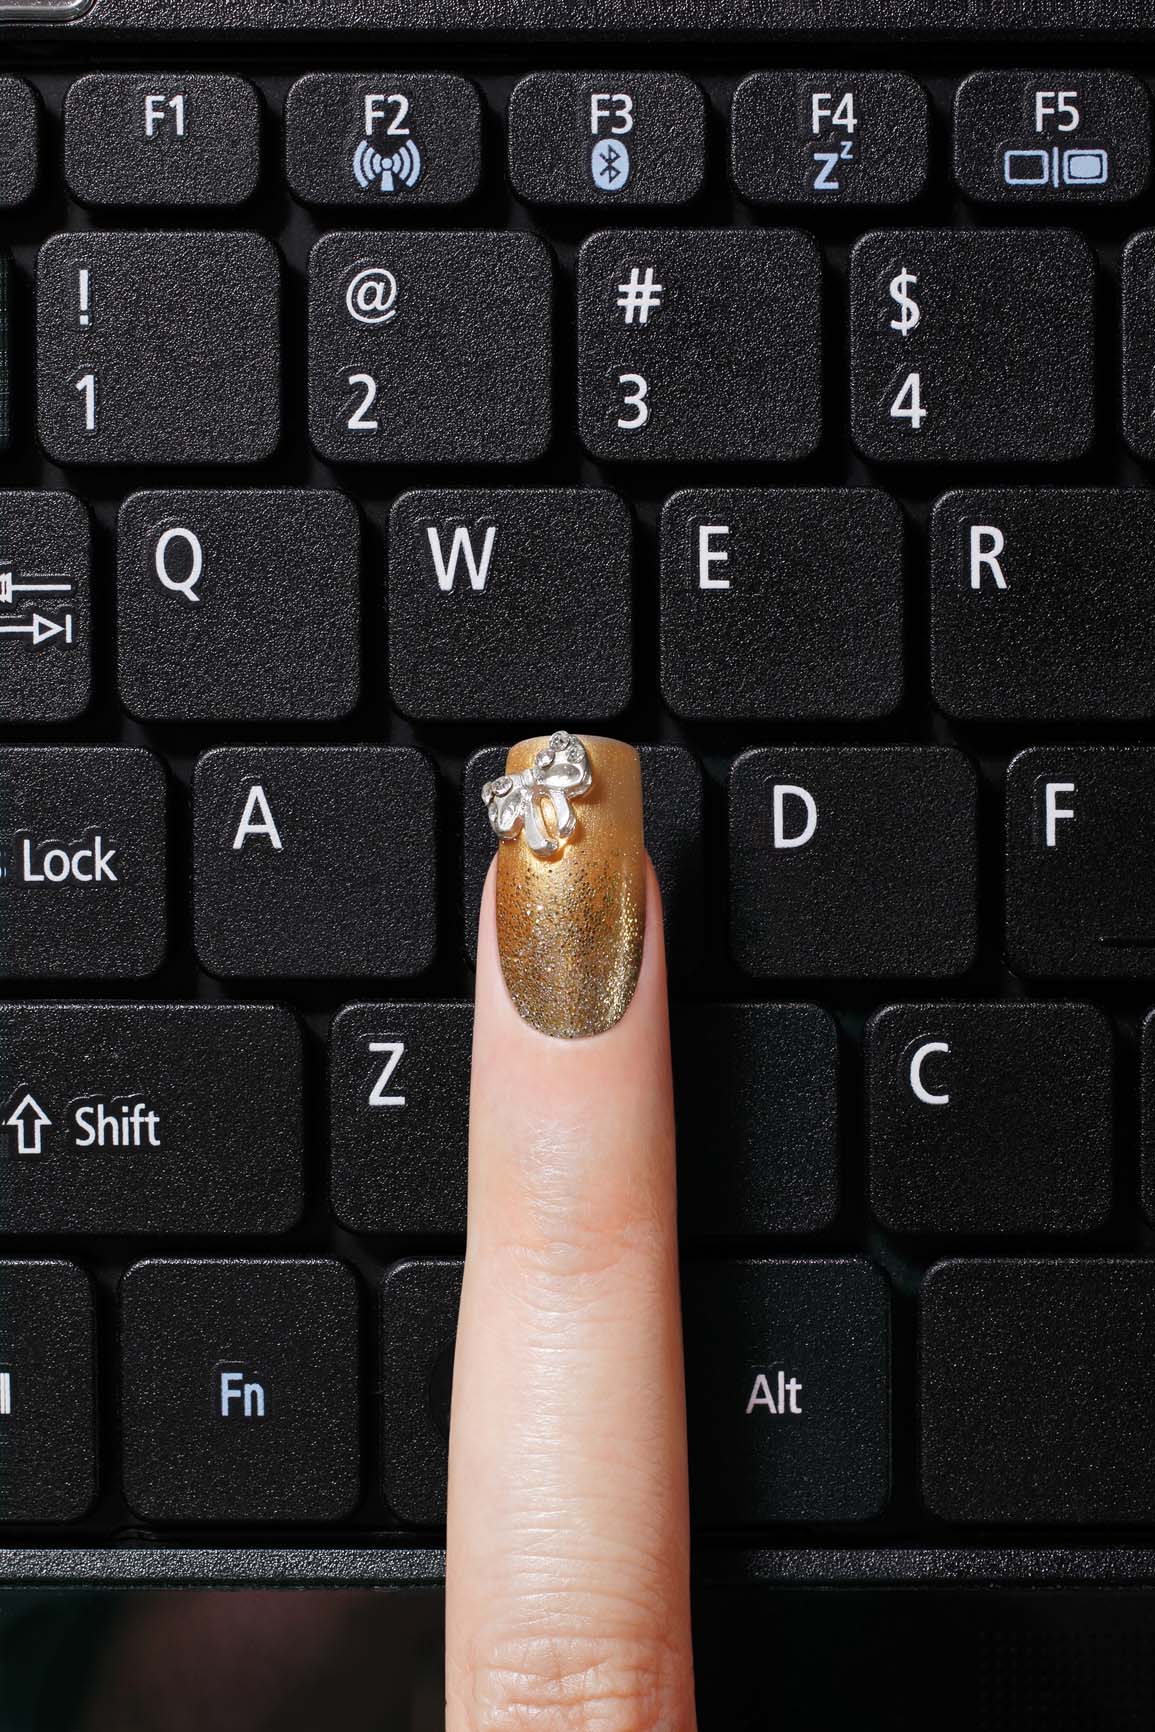
Easy to apply!
Applying them is a breeze: Find the correct size, apply adhesive, press, and voila! You’re ready to dazzle. If I can do it with my two left thumbs, you will sail through!
Time-saving tidbits
As someone who loves making a statement with nail polish but doesn’t have the patience to sit around while it dries, press-ons are a no-brainer. They give you that straight-from-the-salon look in no time flat.
Added bonus: They come in a vast range of shapes, sizes, and thicknesses to suit everyone.
A riot of choices
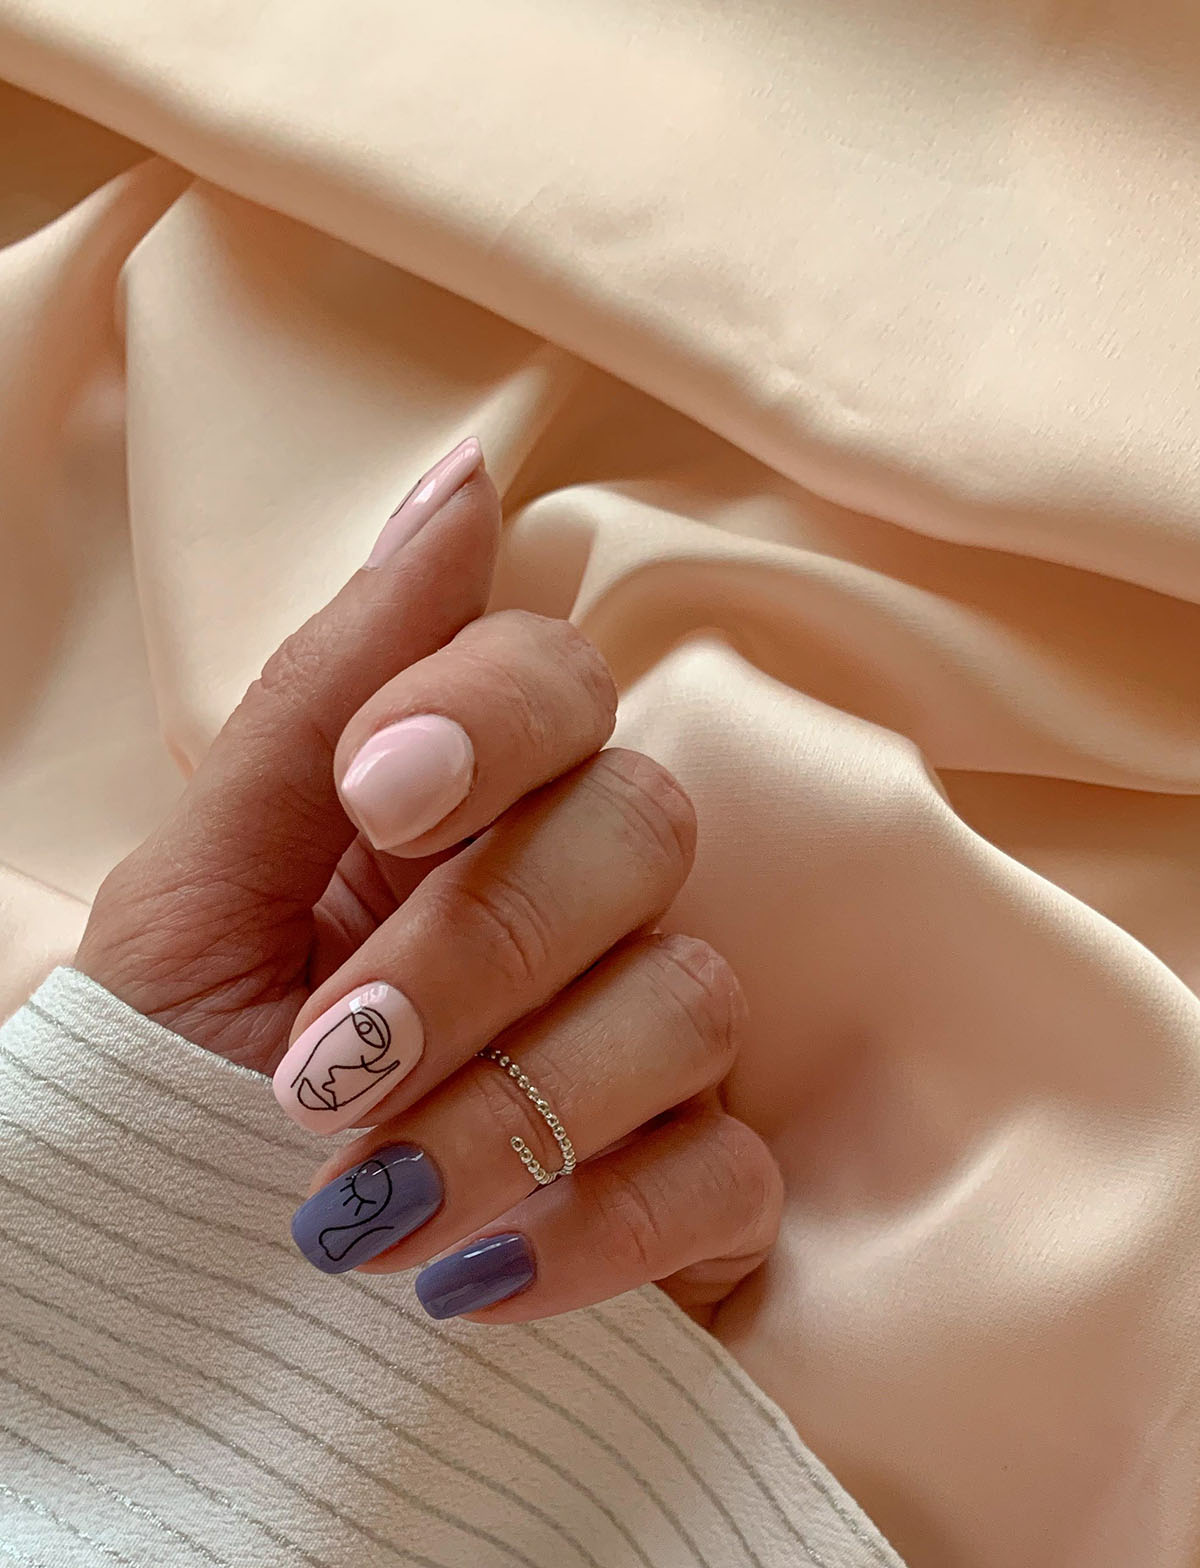
And let’s remember the world of nail art. I wouldn’t even dream of doing hand-drawn art, so stick-on nails and nail stickers are the perfect shortcuts to getting that flawless look.
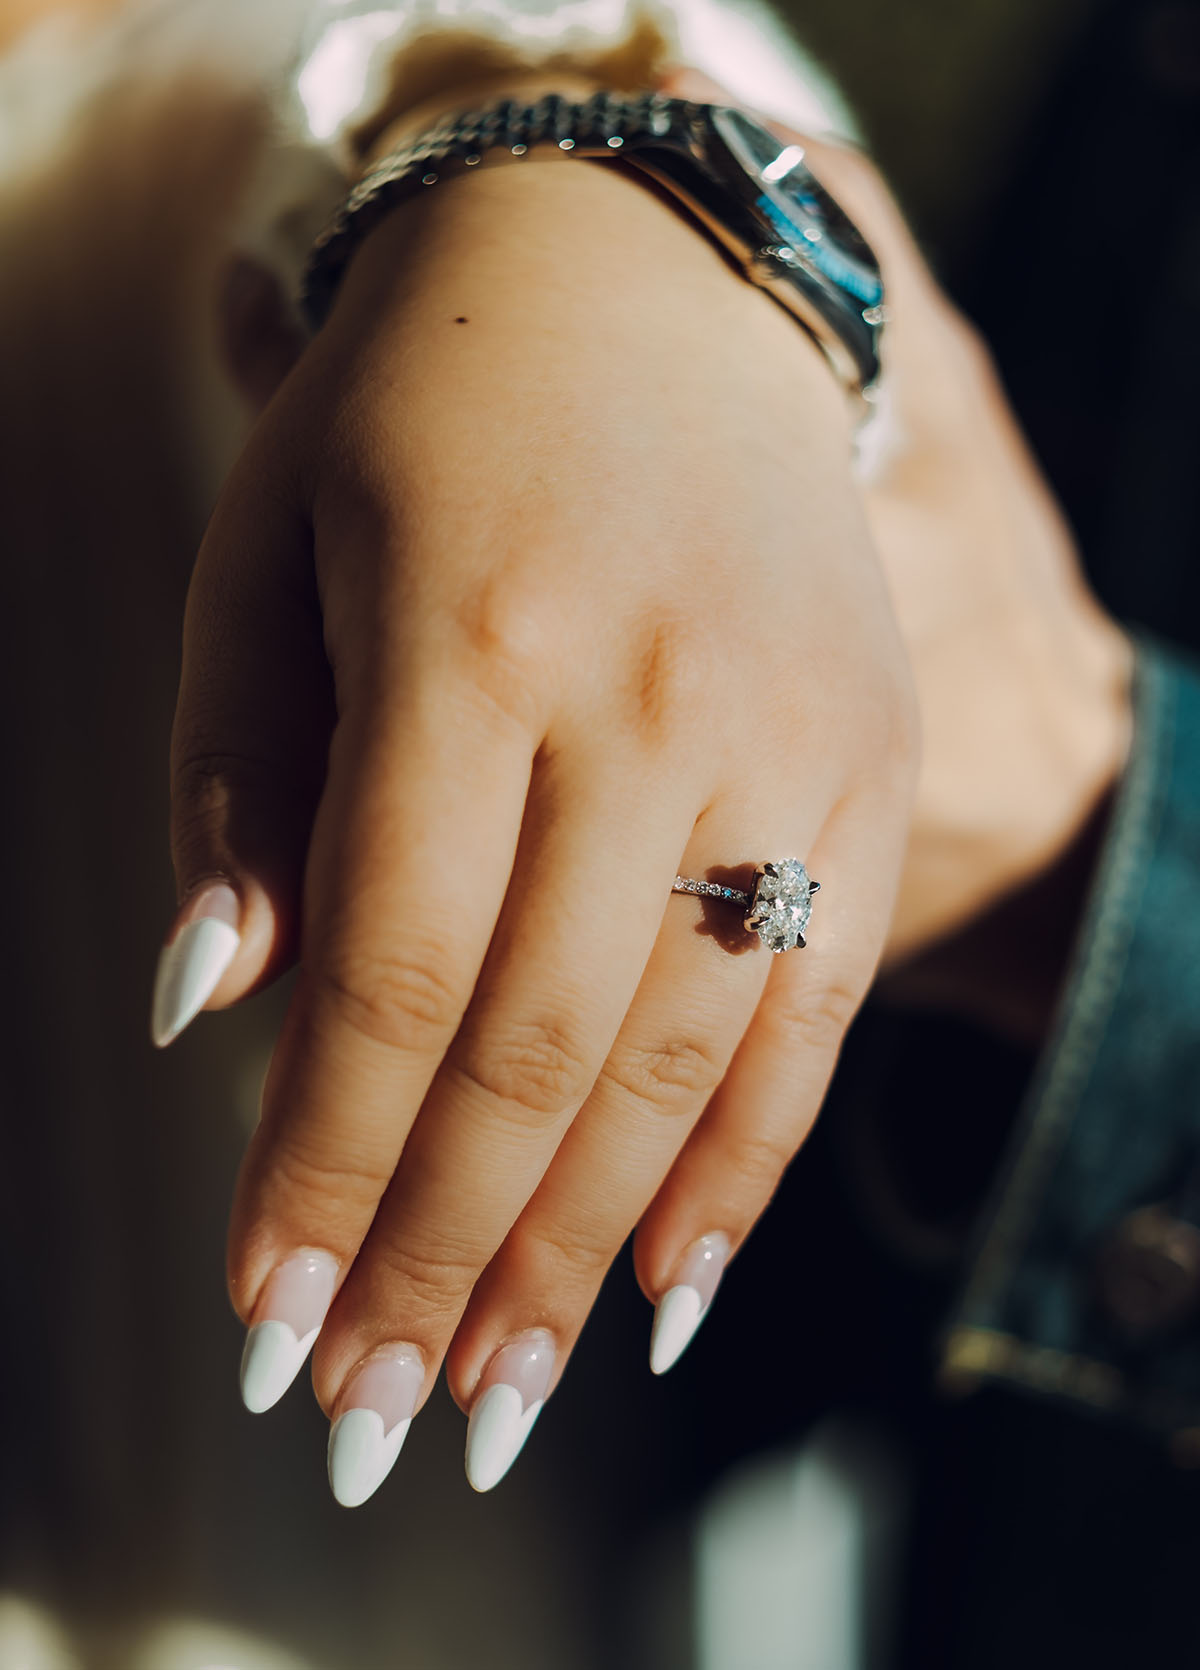
With press-ons, your nail style is only limited by your imagination. From funky designs and luscious colors to different lengths and shapes, the variety is mind-blowing.
Healthy and high fashion
False nails are also a healthier alternative to acrylics or gels, which can often weaken your natural nails over time. Don’t even get me started on gel or acrylic manicures — the last time I tried them, it took me two months to rehabilitate my nails!
Tech meets trend
And trust me, today’s adhesive nails are a world away from the ’90s. They’re crafted from top-notch materials and finishes that look swanky, not tacky. And the nail glue quality has gotten so much better as well!
How to apply press-on nails perfectly?
So, how do you put on those stick-on nails with absolute perfection?
Here’s the step-by-step process from the manicure mavens for fake nails that sparkle sans ugly bumps and ragged edges.
Step 1: Start with room temperature hands
I would never have thought of this in a zillion years — if your hands are too cold or warm, the stick-on nails may start peeling off too soon.
Step 2: Clean your natural nails
Thoroughly wipe down your nails with a nail polish remover before starting. Remove all traces of old nail polish, along with every speck of oil, grease, hand cream, and dust, before applying the false nails — else they will start to peel away too quickly.
Step 3: Corner those cuticles
The best thing is to give yourself a manicure before applying the press-ons.
However, if you’re in a rush, make sure to push down your cuticles (with an orange wood stick) so the glue-on nails don’t stick to them instead of the actual nail.
Also, buff out any ridges but do NOT shine your nails — a not-so-smooth surface will give a better grip.
Step 4: Pick YOUR size
Choose the correct nail size for each finger. Most press-on sets come with multiple size options. Remember, the better they fit, the longer they’ll last, and the swankier they will look. False nails that are too big or too small look untidy!
Select the best stick-on nails by placing the template over your nail, with the curved end up to the cuticle. Ensure that the sides do not overlap with the skin — you can trim them later if necessary but do not touch the length just now.
Step 5: Place the press-ons… and stretch
Remove the stick-on nails from their protective backing by holding the straight edge at the top (try not to touch the curved end as this will affect the adhesive). If the nails do not have an adhesive backing, this is the time to dab on the glue.
Next, apply the press-ons over your natural nail, starting at the base of the nail bed; place the curved end as close as possible to the cuticle without touching it. Hold it in place for a few seconds to ensure a secure bond.
If it’s a flexible wrap, slightly stretch it over your nail to ensure it is smooth.
Try to place it accurately the first time; pulling it on and off will affect how well it stays on your nail.
Step 6: Trim off the excess
This is always the trickiest step. Gently smooth the excess length of the fake nail over the end of your natural nail, letting it stick to your finger to keep it taut.
Finally, file off the excess length using downward strokes. After filing, you can use small nail clippers to clean off any remaining white edges.
How to remove press-on nails?
Everything that goes on needs to come off at some point — including stick-on nails. Go through the removal process safely and efficiently by following these steps.
Soak hands in warm soapy water
First, soak your hands in a bowl of warm soapy water for 10-15 minutes to soften the adhesive holding the false nails.
Gently lift the edges
After soaking, try to gently lift the edges of the press-ons. Start from the bottom and work your way to the top. If they don’t come off easily, don’t force them — you don’t want to damage your natural nails.
Use an orange stick or cuticle pusher
If the false nails are still not budging, use a manicure stick (an orange stick or cuticle pusher) to pry them off gently. Start at the base of the nail and move slowly so as not to cause any damage.
Apply oil
If the press-ons are particularly stubborn, you can use olive or cuticle oil to help loosen the nail glue. Apply the oil around the edges of the nails, let it sit for a few minutes, and then try again with the orange stick or cuticle pusher.
Soak in acetone
If you still can’t remove the nails, use an acetone-based nail polish remover. However, this should only be used as a last resort, as acetone can dry your nails and skin. Plus, most press-ons cannot be reused once they have been in contact with a nail polish remover.
But if you need to do it, soak your nails in the solution for about 10-15 minutes, then try removing the press-ons again.
Aftercare
Once you’ve removed the false nails, wash your hands thoroughly to remove any residue. Then, moisturize your hands and nails with a good hand cream and cuticle oil. If you notice any damage to your nails, give them a break from any nail products until they’ve recovered.
How to make press-on nails last longer?
Stick-on nails can last up to two weeks or longer when maintained correctly. But remember, it’s not just about how you apply them but also how you care for them afterward.
So, want to turn your false nails from a flash-in-the-pan trend to a major fashion win? All it takes is some good nail-care vibes. With these easy tips and tricks, you’ll become a pro at extending the life of your stick-on nails.
Avoid water
The first few hours after application are critical to the longevity of your false nails. Water is the arch-nemesis of the adhesive used to stick them on.
So, keep your hands dry for at least the first hour after application. This allows the adhesive to fully set and create a sturdy bond with your natural nail.
File, don’t clip
The temptation to clip your stick-on nails might be strong, especially if they feel too long or uncomfortable. However, this can chip or crack the nail, damaging its structural integrity and leading to premature peeling.
Filing, however, allows you to slowly and carefully achieve your desired length and shape without the risk of damage.
Use gloves
Protecting your nails during daily chores can significantly enhance their lifespan. While doing tasks that involve water, cleaning agents, or potential harm to your nails, always use gloves.
Dishwashing, for instance, can weaken the adhesive and cause your press-ons to loosen or even pop off prematurely. Invest in a good pair of rubber gloves; your false nails will thank you.
Top coat application
Applying a clear top coat to your false nails every few days is a fantastic way to boost their durability. It adds an extra layer of protection and helps maintain their shine and finish, keeping them looking fresh and salon-quality for longer.
Look after them — and they will look after you!
While today’s false nails are designed to be sturdy, they’re still not invincible. When wearing them, be careful of activities that could potentially cause damage.
For example, avoid using your nails as tools to open cans, remove staples, or do other tasks better suited for actual instruments.
Best press-on nails of 2023
Looking to make the jump? These are the top recommendations for the best press-on nails in 2023.
These are easy to apply, look like real nails, and are durable and reusable. They come with 24 nails and 12 different sizes, a dual-sided file/buffer tool, and glue that promises not to damage your nail beds. They are waterproof and can be worn for weeks on end. They can also be painted, cut, or reshaped for a fully custom look. Static Nails were also recommended by Forbes as the best customizable press-on nails.
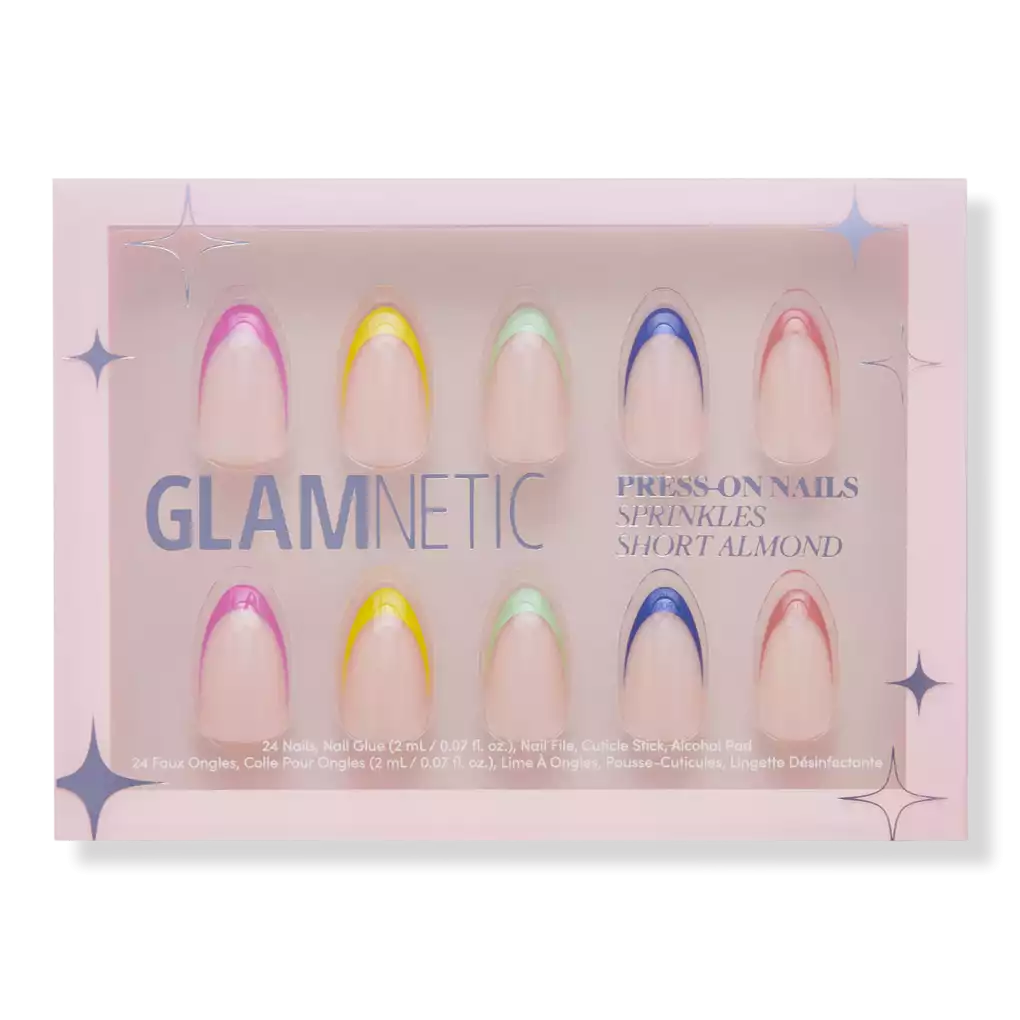
Known for their realistic look and feel, Glamnetic nails offer a back-from-the-salon glossy finish. They can be re-used up to three times and provide an excellent press-on alternative for those who love long nails.
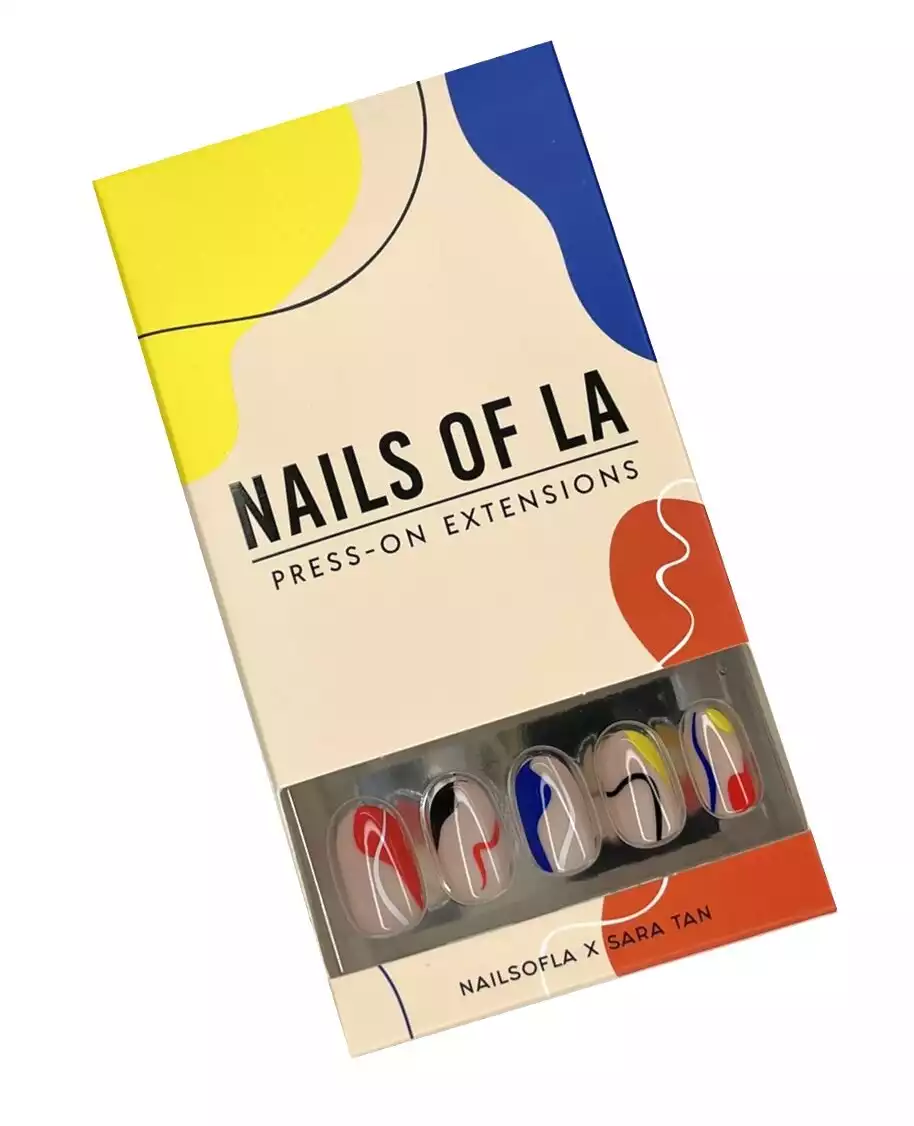
Nails of LA was founded by Brittney Boyce, a celebrity manicurist and offers press-ons in the coolest designs. If you prefer your nails short, you'll find that the natural length and shape of these falsies look like your real nails but better.

If you love expressing your creativity through your nails, PaintLab has you covered. With designs ranging from cute animal prints to retro color blocks, there's something for everyone. They are not waterproof, but they held strong during basic hand washing. Plus, they are reusable, providing even more value for your money.

Dashing Diva are incredibly easy to apply, with a glueless design and a clean, professional finish. Even though they are not reusable, their affordability and quality make them highly recommendable.

This kit has everything you need for an at-home manicure session, including 42 press-on nails, a file, buffer, cuticle pusher, gentle glue, and prep pad, all in a single case.
FAQs
Here are the most frequently asked questions about press-on nails.
Are press-on nails reusable?
Yes, some brands offer reusable press-on nails. Make sure to remove them gently and clean them properly for reuse.
How long do stick-on nails last?
With proper care, press-on nails can last anywhere from one to two weeks.
Can I paint over false nails?
Absolutely. If you prefer a different color or want to add a personal touch, feel free to paint over your press-ons.
Are press-on nails safe for my natural nails?
Yes, press-on nails are a safer alternative to traditional acrylics and gels, which can cause damage and weaken your natural nails over time.
Can I apply stick-on nails over acrylics?
While applying stick-on nails over acrylics is possible, it’s not recommended. The adhesive might not stick well and could cause damage when removed.
What is the downside to press on nails?
While false nails provide an affordable and convenient alternative to salon manicures, they require careful application and removal to avoid damaging the natural nails. Overusing them can weaken the nails. Additionally, they can detach quickly, particularly if there’s contact with water or oils.
Can you get fake nails for your toes?
Yes, press-on toenails do exist! Like press-on fingernails, they are an easy and convenient way to achieve a salon-style pedicure at home. They come in a variety of colors, patterns, and lengths, allowing you to customize your look. And the application process is typically the same as for false fingernails.
Do you like stick-on nails? Which brand would you recommend?


Cara @ Fox Claws says
Thank you for credit. I’m not sure how I feel about my image being used on a nail wraps post since the mani is NOT pre-printed nail wraps but polish and Konad stamps instead, I’m flattered that it was done well enough to be misidentified as such though.
– Cara
Martha says
This sure is pretty!